
For indoor doll photography, there are what I call on-location shots (like shots of dolls on their doll shelves, or around my house, by a window, etc.) where I use an already existing background as my set. For these, I usually bring my photography bag with me (see a video on what I pack Here), and treat it like any outdoor photo shoot, except it is warmer and drier (usually).
 |
| On-location indoor doll photography |
I use a small section of my craft table that is 36 inches wide by 30 inches deep, which gives me more than enough space to set up scenes with multiple dolls. My table is deeper than most and I could easily make due with a standard depth of table. I have 2 different types of sets for studio doll photography, and both types have several different options for set-up, so I end up having lots of different looks, all using the same 36 by 30 inch space.
The first type of setup is using a seamless fabric background (you could use a roll of wrapping paper too). When I use this kind of setup I usually use minimal props, and the photos are more about the dolls than about setting a scene. I hang the fabric from a curtain rod on the back wall of the space and let the fabric hang down the wall and across the table surface.
Below is a shot of my studio area when it was 30 X 30 inches (before I filled in the table between the end of the table and the wall on the right). Sometimes I put something on the table to look like a floor (as below):
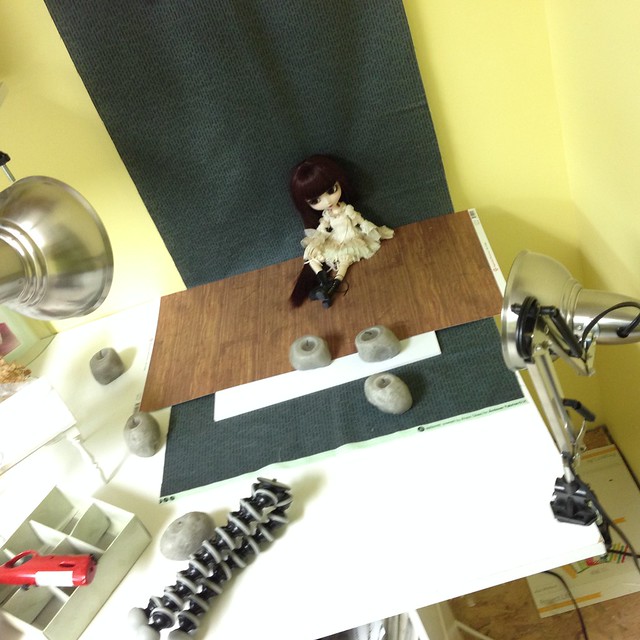 |
| BTS photo shoot from January 2014 |
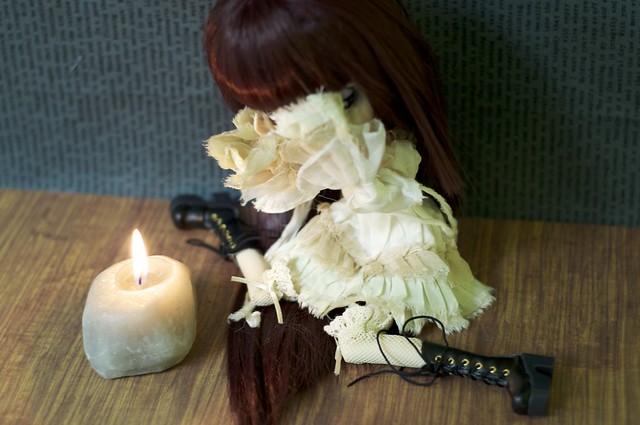 |
| Sample photo from the setup above |
And other times I let the fabric be exposed on the floor for a true seamless look:
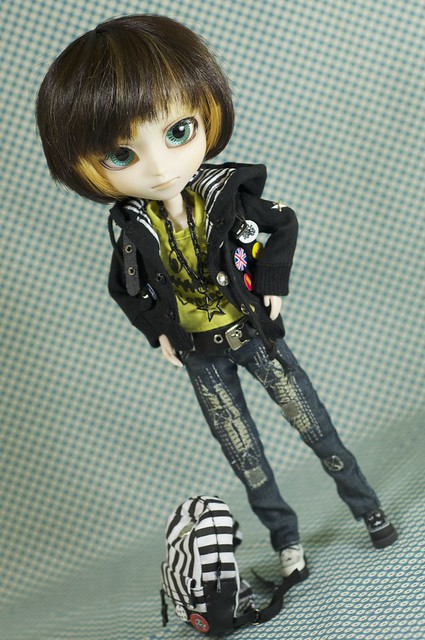 |
| Nero poses for his introductory photos on a piece of blue fabric |
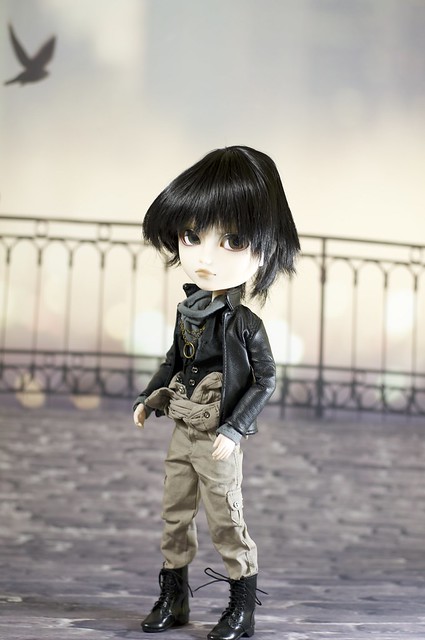 |
| Sample photo using the above backdrop (don't mind the wonky wig) |
So just by adding an inexpensive curtain rod on the back wall above my table, I have a range of options for backdrops that are limited only by my supply of fabric (or wrapping paper). I do show the curtain rod itself and binder clips I use to attach the fabric in the video below.
Besides the seamless fabric background, the second setup I use is a 2-walled diorama. To make a simple diorama all I needed was some foam board, patterned paper, mac-tac (cupboard liner paper with an adhesive backing on it), and bristol board. Other supplies that come in handy and add to the options and details are pieces of narrow wood trim, velcro, tiles, or laminate wood floor pieces. You can get even more detailed by adding a window using more wood trim pieces, etc.
The video below shows how I go about setting it up in detail and talks about what supplies are required. Since making this video I started working on a window that can be attached to the wall and detached when I take the set apart. I will show that in a separate video when I get it completed and work out the kinks.
The video shows how quickly you can build and take apart these sets once you have them made, and then the fun part is the decorating. My kids helped make these 2 sets:
The first set was created by my 8-year-old after I set up the walls and floor. She put her own American Girl posters on the wall in the open space (where I plan to put a window once it's done).
 |
| Setup # 1 Red chevron walls with wood floor |
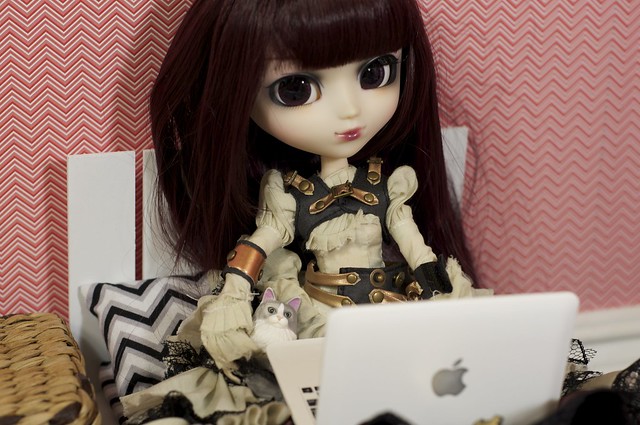 |
| Even in close-ups that don't show much of the room, having baseboard peeking out in the corner reminds us Suri is in her bedroom |
 |
| The brush is a prop only- do not use aplastic brush on your doll or her hair will become very frizzy! |
As the video shows, all I did to get this second, completely different looking room is turn around the foam board and switch out the floor! This room was decorated by my 7-year-old daughter:
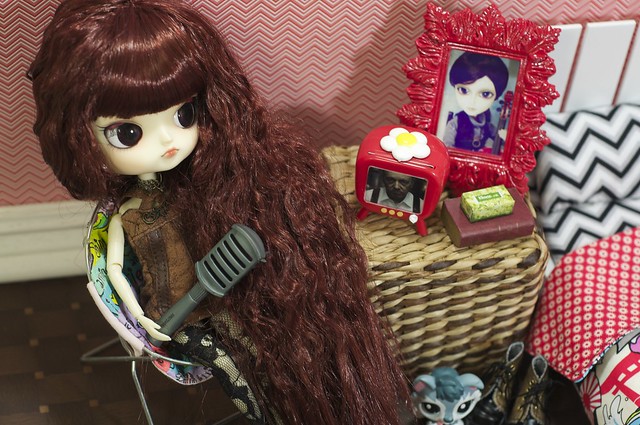
 |
| There is lots of room for several dolls in this small set |
 |
| I'm not sure why Ally is holding a giant stop watch, lol! |
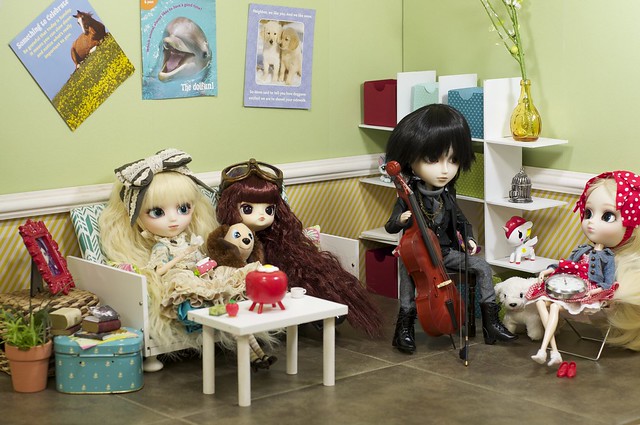
 |
| It feels like things are happening when there is lots of stuff in a room. |
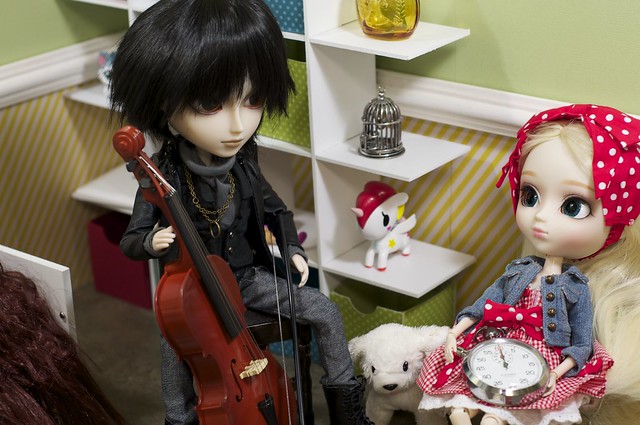
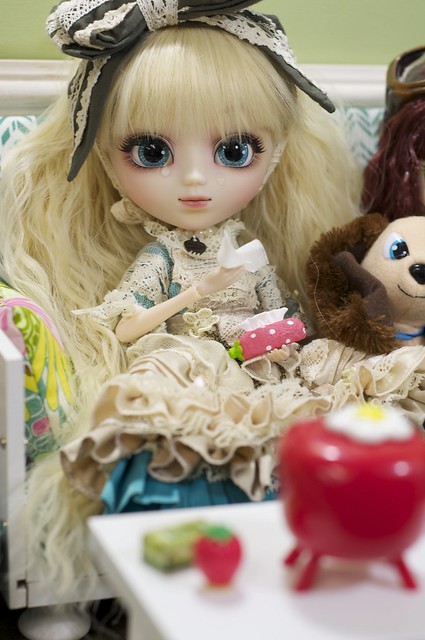 |
| It's apparently a very sad movie! |
I hope you found this helpful. Feel free to share your ideas for setting up photography sets here or on my YT channel!
No comments:
Post a Comment