Showing posts with label Taeyang Natsume. Show all posts

Thursday, October 22, 2015

Secrets of Woodside Ep 5 BTS

Suri and Neela at work
Sneak Peek into Scene 1 of Episode 5: These 2 are working on a top-secret project for the World Security Bureau
Episode 5 is going to take a bit longer to assemble than usual, because it requires more elaborate sets and prop work than usual.  So far I've only completed one scene, but it has been a lot of fun and very rewarding to finally be telling this part of the story!

Bts WSB lab
First I had to find lab-coats, and make and laminate ID badges.
Bts WSB lab
Then I had to modify my kitchen island to look like a lab counter and gather some other supplies 
I used a piece of glossy paper to serve as a wall-mounted white board and found some sciencey things to write on it with sharpie markers.  The science lab set is from my daughter's American Girl doll room. I also gathered some office-themed Rement pieces and printed up a WHMIS poster.  I'm using Timulus and Wayne's goggles as safety glasses for this scene, and Wayne's bullet proof vest will be worn by Jax, who is a field agent in between assignments in this episode.

Bts WSB lab
Because this episode takes place in the backstory, I had to re-wig and re-dress my dolls.
I have to be careful of little details, like Jax's necklace needs to be on Jax, not Suri (since he hasn't met her yet, nor died yet, and she hasn't received his personal effects that include his necklace :)  I also have to make sure I cover up his "Suri" tattoo in flashbacks. 

Bts WSB lab
BTS shot
I wanted this scene to have a clinical feel to it, so I opted for minimal furnishings and no decor, aside from the WMIS poster.  I used my plain yellow walls as the walls of the lab and my plain white table top as the floor.  It made for easy set-up and it looks nice and stark.

It took me half my day off to make and gather everything and shoot this scene.  The next scene will be even more elaborate, so it may take even longer... but we are about to see how Suri and Jax met, so I hope it will be worth it!


Monday, July 13, 2015

BTS Count on Me and how I do my Pic-Fic story

So, like many people out there, I have this story floating around inside my head.  And it wants to get out.  Pretty badly.  I've thought of writing it out, but firstly, I don't think it's good enough to warrant that much "work", and secondly, I don't want to do anything that might feel like "work" in my spare time.  So it's been floating around up there, pretty much since the day I got my Bloody Red Hood Pullip (I think it was January of 2014).  I never imagined I would be the kind of doll collector who had characters, personalities, and a storyline for her dolls.  I thought I'd be more of the dress-and-display kind of collector.  But here I am with this story, and it keeps becoming more and more elaborate as time goes by.
Jax is not taking sides!
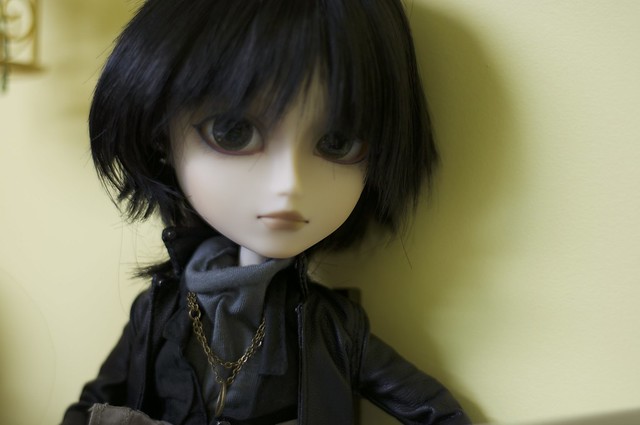
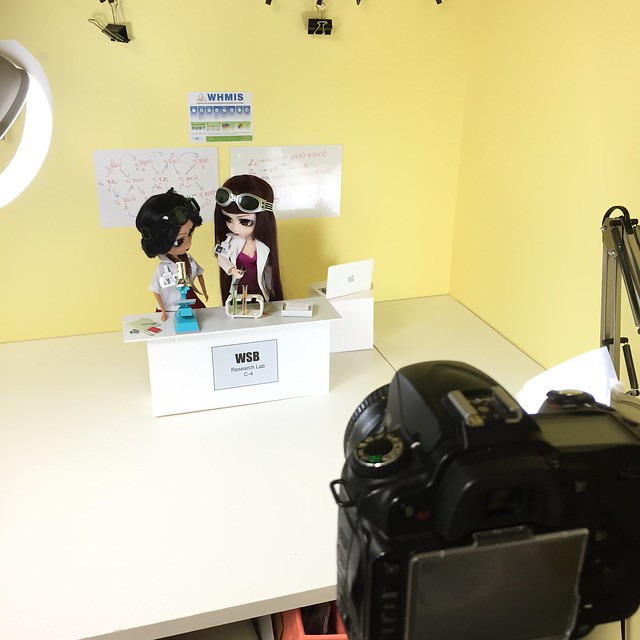
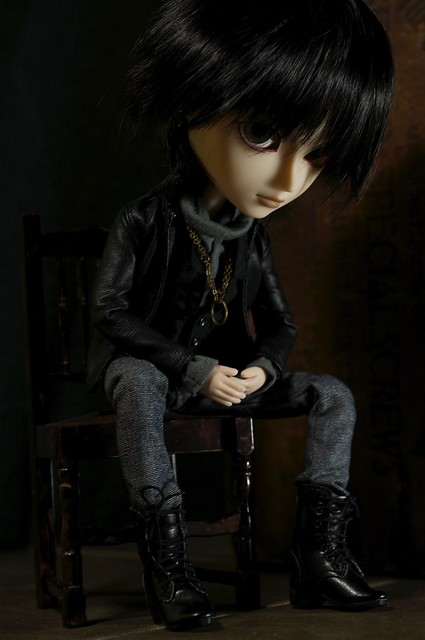
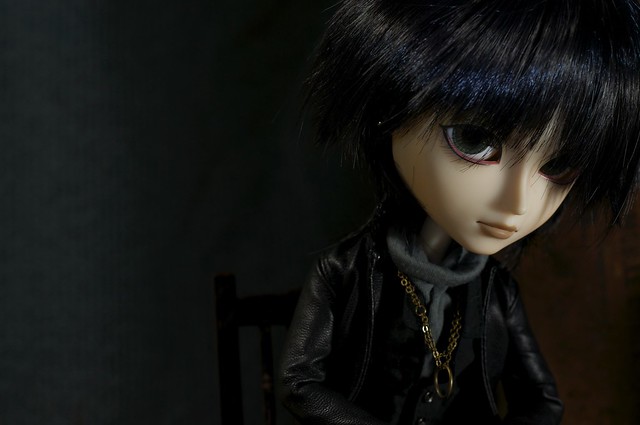
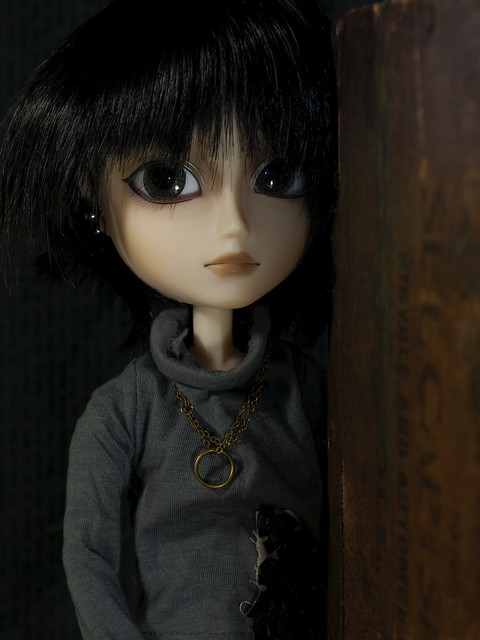
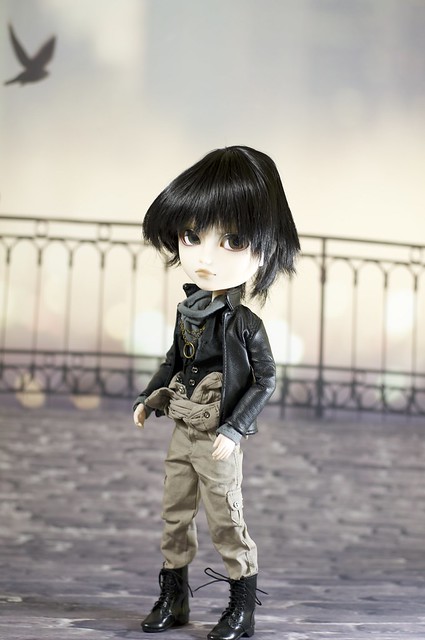
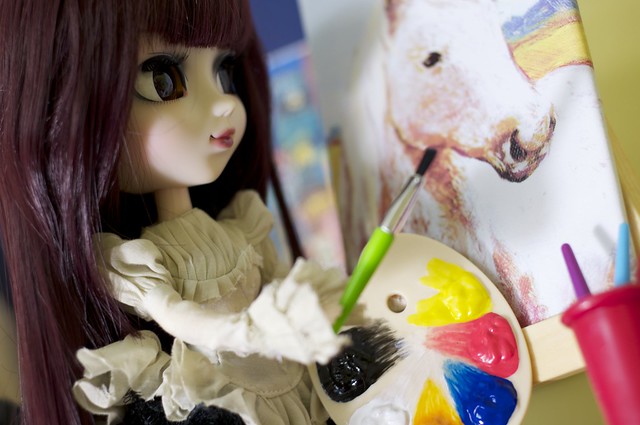
Jax: Don't look at me.  I was dead before the story even began!
I also never thought I would enjoy photography as much as I have since I started doll photography.  I used to want to poke my eyes out with a fork if S. tried to talk to me about shutter speed, aperture, and lighting... but now I consider it a puzzle I have to solve to capture the emotion I'm looking for in a scene.
BTS
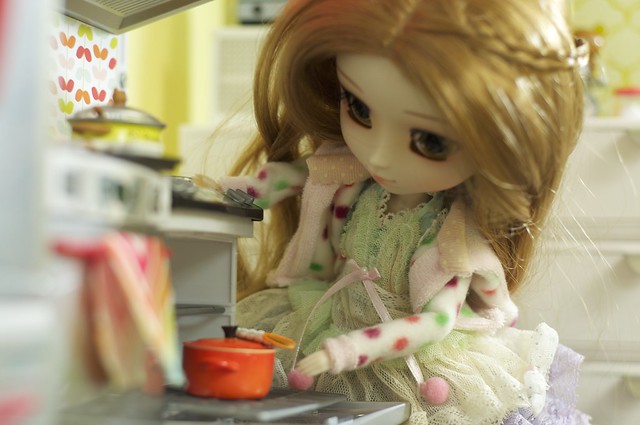
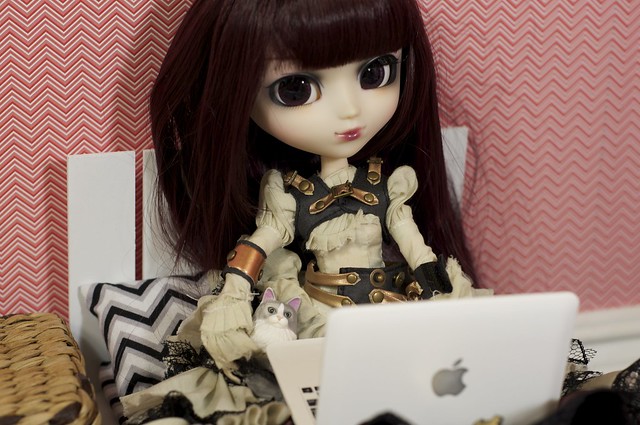
Balance, posture, hair, clothes, lighting, angle... so many pieces to the puzzle!
So if we put the story with the emerging love of photography, we've got ourselves a little pic-fic!  Because my long-time unfulfilled dream is to be a filmmaker, video seemed to be a logical medium for telling my stories.  What I like about making these music videos is that the music (either the lyrics or the mood of the song, or both) tells part of the story for me, and I don't have to fiddle around with words.  My original goal was to make the entire storyline unfold in these music videos, but I realize now that I need some dialogue to move the story along and to help develop the characters.
DSC_4872
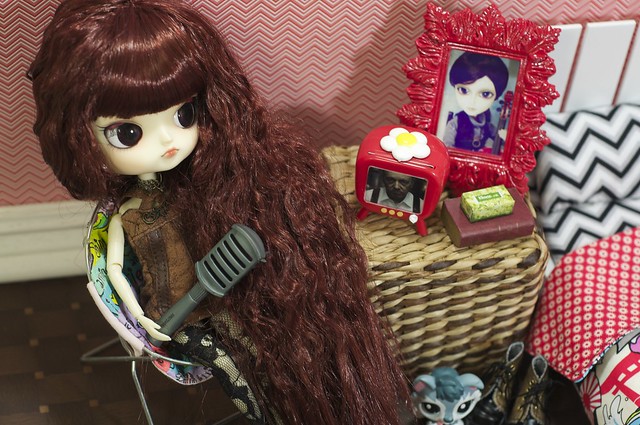
Photos and music can tell a lot of the story... but not all of it.
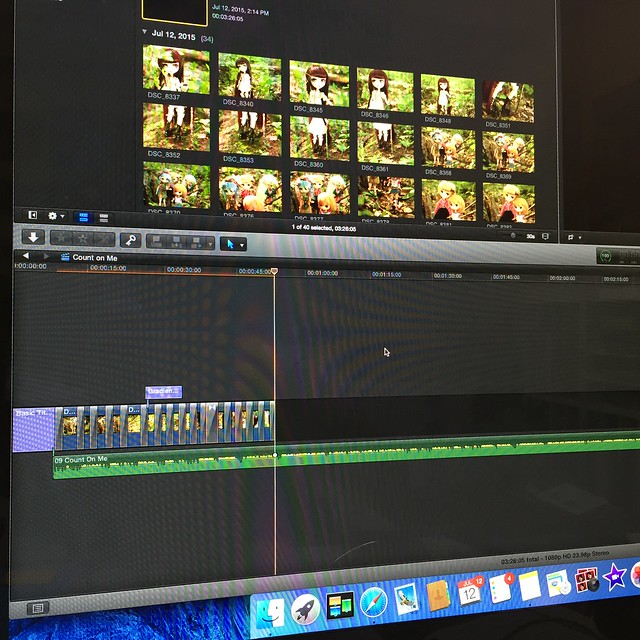
So after a long delay, I completed Episode 3: Count on Me today, and it feels good to have the story ready to move on.  I have the story mapped out in an app called A Novel Idea, which allows me to keep track of characters and scenes, and my story can go in a few different directions from here (I can go backwards or forward, but within those 2 general directions, there are a few different story arcs to explore).  My next phase is one of may favourites- the listening to music everyday on the radio with an ear for my next song.
These 4 friends can count on each other
Ok, that's a wrap, ladies.  Thanks for coming out.  See you next episode.
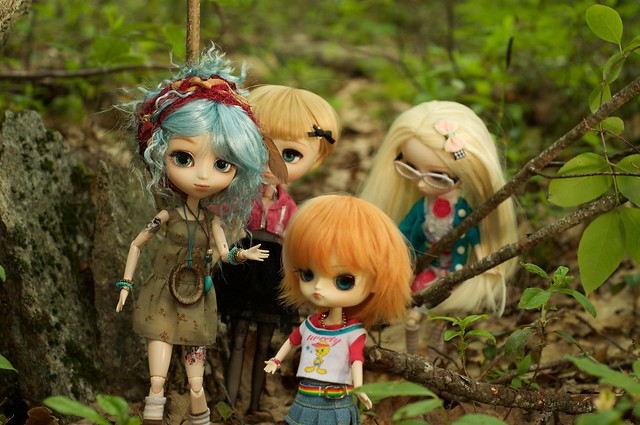
Getting ready for a photoshoot like yesterday's backyard woods shoot for my Count On Me video takes a lot of preparation.  Because I had to style my dolls for their ongoing roles and because I want them to have a relatively consistent look throughout, it actually took me a few weeks from conception (usually conception starts with hearing a song and recognizing it as being a good vessel to carry the next part of my story) to shooting.  I had to get new eye chips and wigs for Nikki, Rae, and Suri; new bodies for everyone (I ran out of steam and didn't put Ally's on her for the Count on Me video); and come up with looks for each character.  I had the song choice solidified and timed out on paper for about 3 weeks, so it was mostly waiting for stuff to arrive from all over the world and getting the time to do some plastic surgery on my dolls.

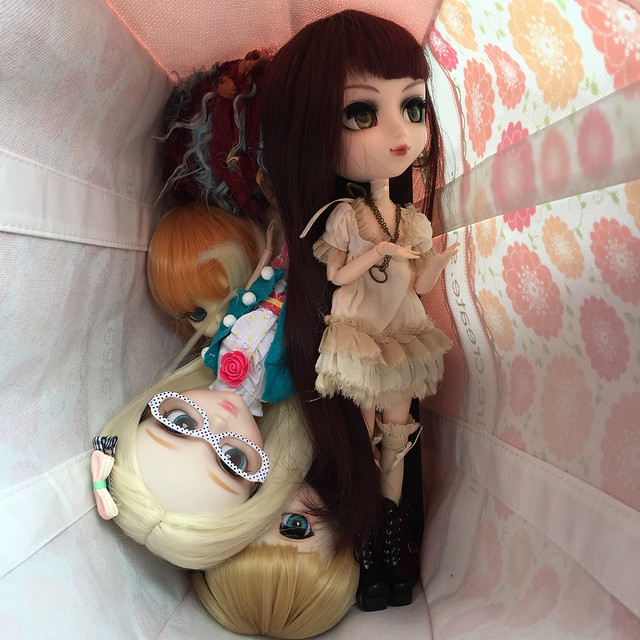
After a few weeks of waiting and chipping away at styling my dolls, this weekend, I realized I was finally ready to shoot!  So Sunday morning I carefully packed my dolls into a reusable Stampin' Up! shopping bag, and headed out to my backyard, a.k., the "woods" of Woodside.

5 dolls in a bag. Everyone keep your hands to yourself!
Ok everyone, keep their hands to themselves!
I have a video about what I pack for outdoor doll photography, so I won't get into the details here.  But I will say that I've learned to bring shoes in a separate ziplock baggie, and to put them on the doll at the last minute before shooting, then remove before I change locations.  Pullip shoes (not so much the boots) are notorious for being miles too big for her feet and so far I've been lucky to have always been able to retrieve all my lost shoes.  I don't want to tempt fate.

The other thing I've learned is to wear a pair of foam gardening knee pads.  Because these knees survived the rollerskating craze of the 70's and 80's and I need them to last me a few more years.  This time I'm bringing a few flashes and stands with me as well as my regular gear.  Oh, and bug spray.  Lots and lots of bug spray (and I check myself for ticks when I'm done- we have lots of deer living around us).
Lyla: can I come too?
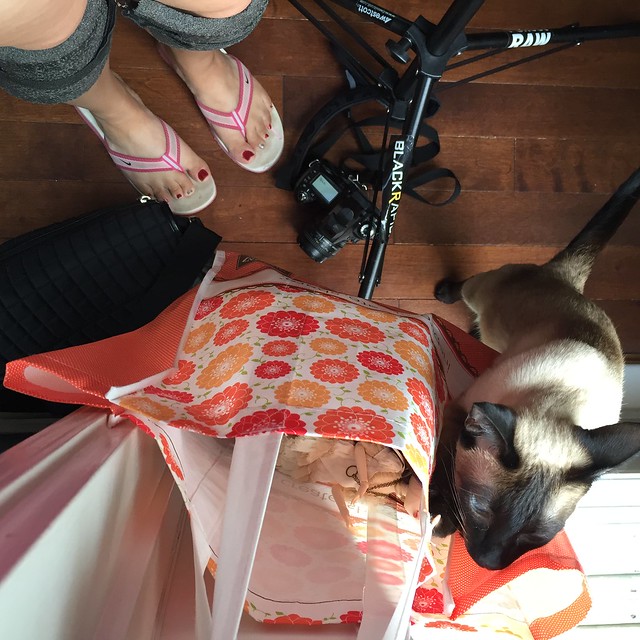
No, Lyla, you can't come on the photoshoot! (don't worry, she gets plenty of attention from the camera- she has her own Instagram account!)

When I get outside, I look for locations that have enough space to get my body and equipment in place, but not so clear that there is nothing to lean the dolls against.  It's one thing to get a single pulp balanced to stand outside in the potential wind... it's a completely different task to try to get multiple dolls standing at once without some type of propping.  One I get the dolls positioned I cut away any brush that gets in the way of the camera and the dolls, or that looks distracting in the photo.

Untitled
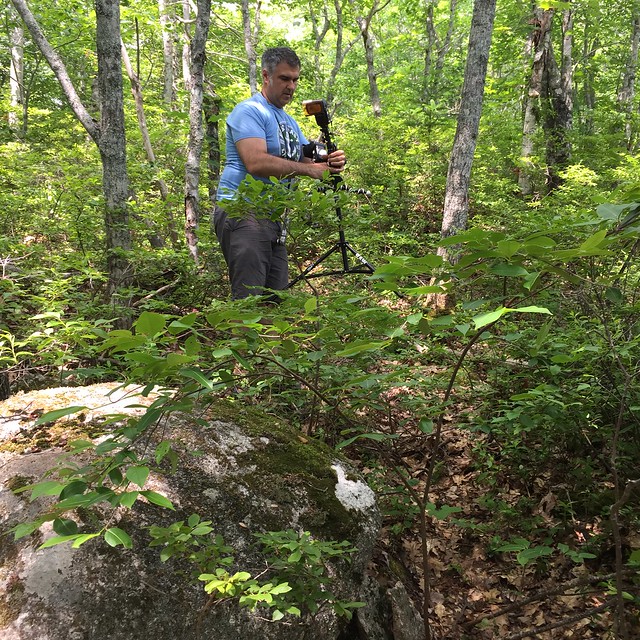
This is my Voice Activated Lightstand (VAL).  He prefers I call him Scott.
That flash Scott is carrying with the yellow gel on it gives my dolls that sun-kissed look in the photo below:
4 friends take a walk in the woods
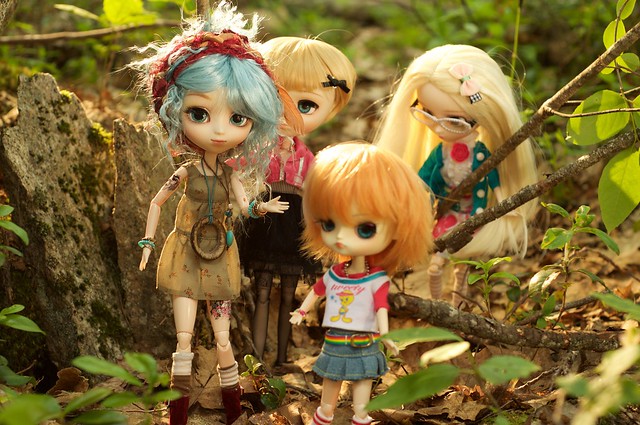
We placed the yellow gel flash above and behind the dolls
Without flash
The same photo without the extra flash looks a lot flatter.


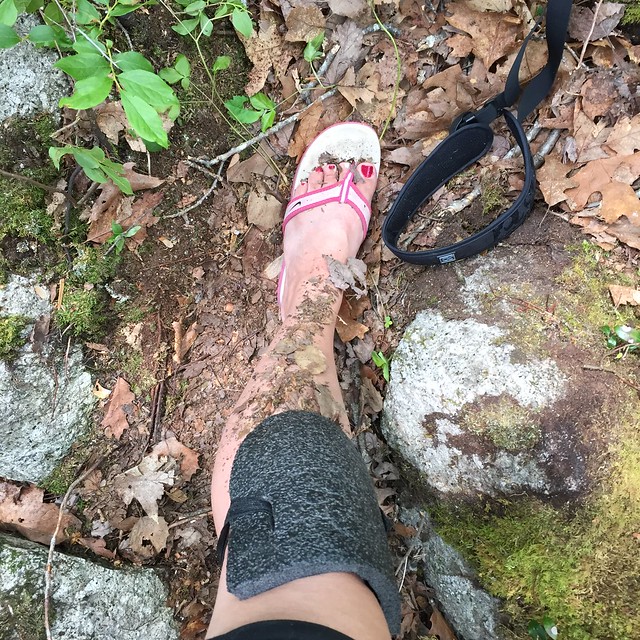
This is what happens when you spend an hour and a half lying and kneeling on the ground in the woods.
  
After 90 minutes in the woods with Scott, I had 105 photos, 37 of which were decent (that number would be a lot smaller if Scott had't come along- he has a real eye for this stuff).  Sixteen of those made it into verse one of the song, accounting for a whopping 45 seconds of video!

All that for 45 seconds
90 minutes of photoshoot time=45 seconds of final product.
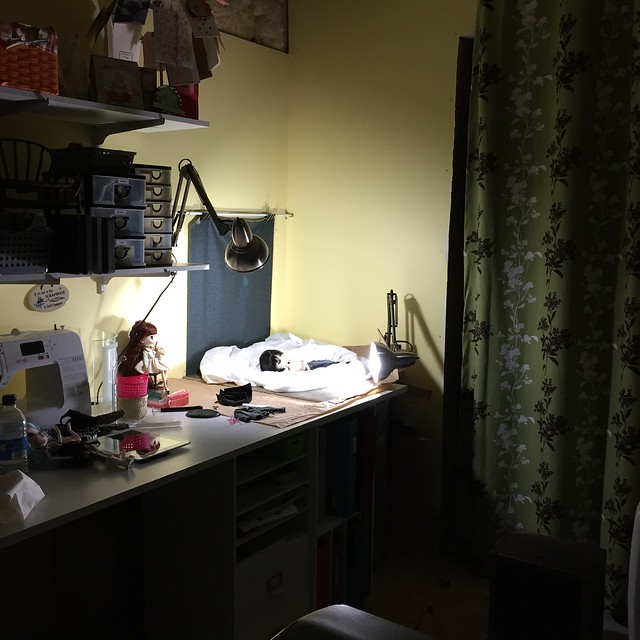
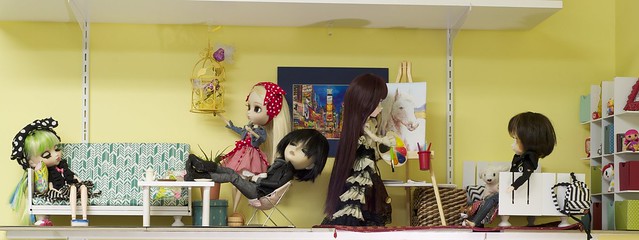
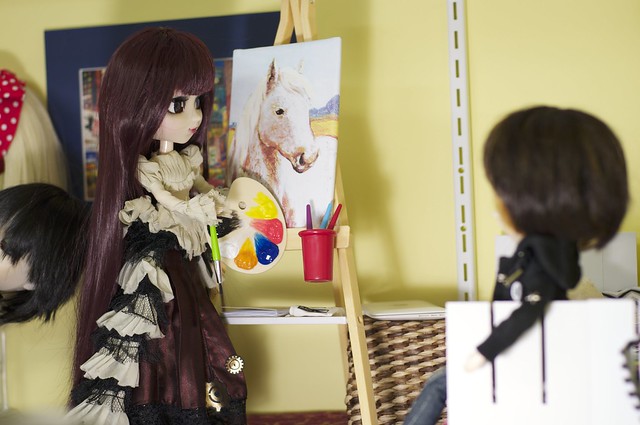
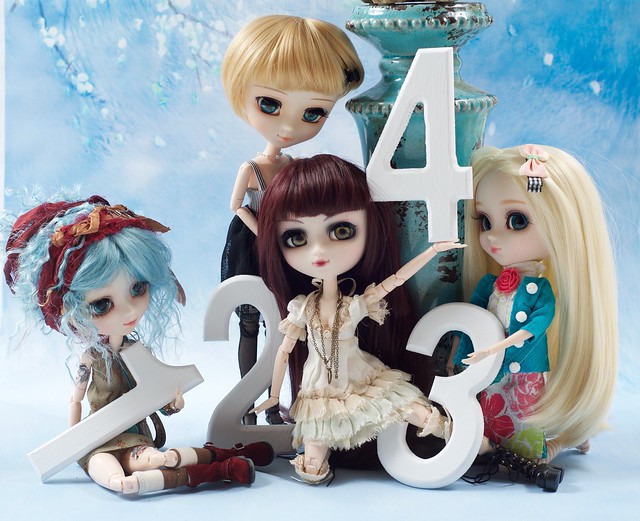
I shot the rest of the photos indoors.  The chorus photos were shot in Scott's studio area, with decorations from my dining room, and wooden numbers from Michael's (which i painted a few weeks ago).

BTS
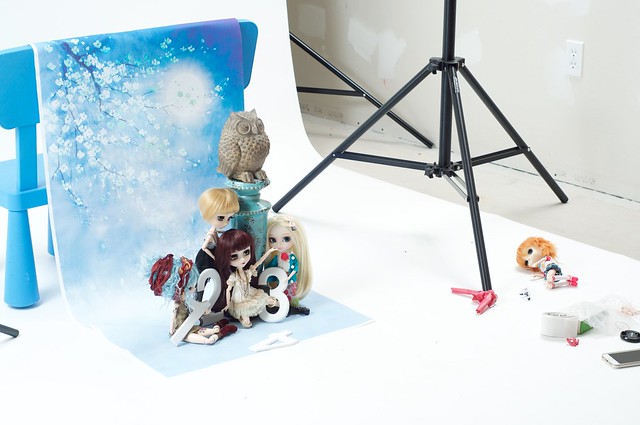
BTS indoor photoshoot with numbers
These 4 friends can count on each other
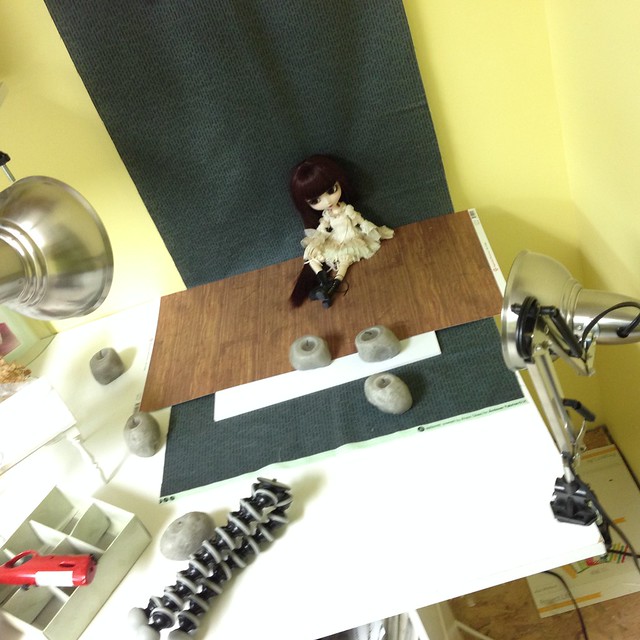
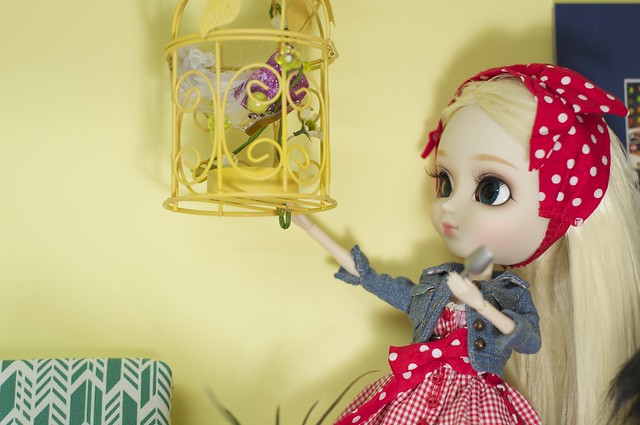
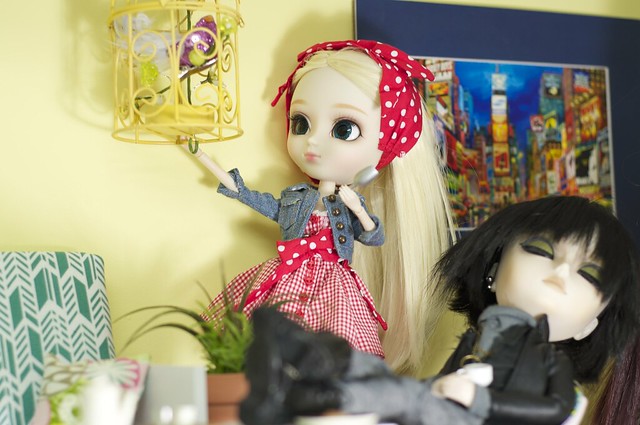
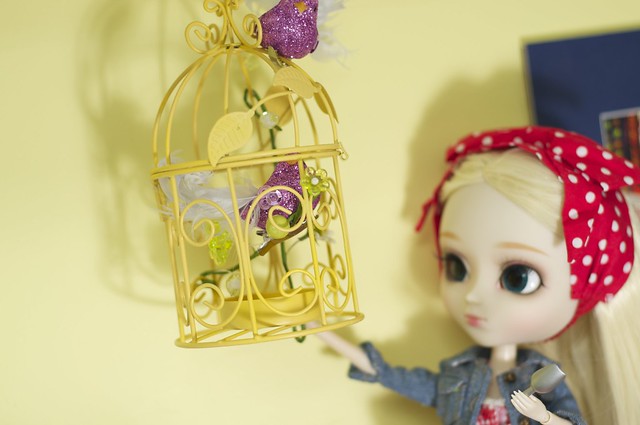
Here is the photo I was setting up in the above BTS shot.
I didn't take BTS shots of the other 2 scenes in the video.  I do have a blog post that shows my interchangeable doll room set, which is what I used for the remaining scenes.  I went back to the 
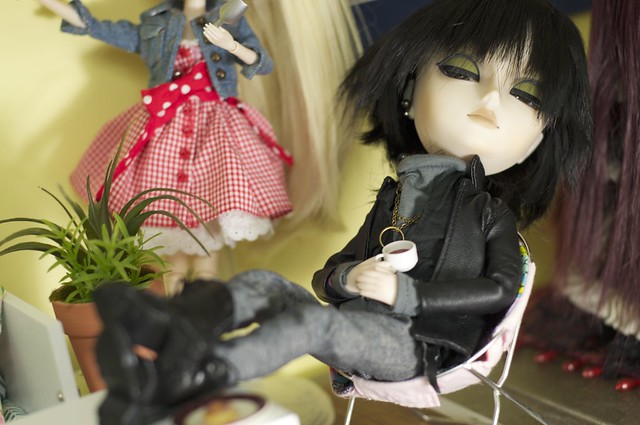
Love Don't Die video (Episode 2) to check the details of Suri's living room for the movie scene.  The photos are so dark for that scene that I didn't put them on my flickr, so you'll have to check out the Count On Me video (Episode 3) to see those shots.  I am disappointed that I couldn't get the video portions to match with the still photos in that segment.  My video camera has auto-exposure and I forgot to turn it off.  I spent a lot of time trying to get the lighting to look like the light was coming from the tiny Hello Kitty TV, and then the video portion messes it all up.  But I was glad to get the photo of Jax to be noticeable (at least I THINK it's noticeable) because it ties this episode into the previous episodes and reminds us Suri has been mourning the death of Jax.  I want the viewer to deduct that meeting the girls of Woodside represents a turning point in her healing.

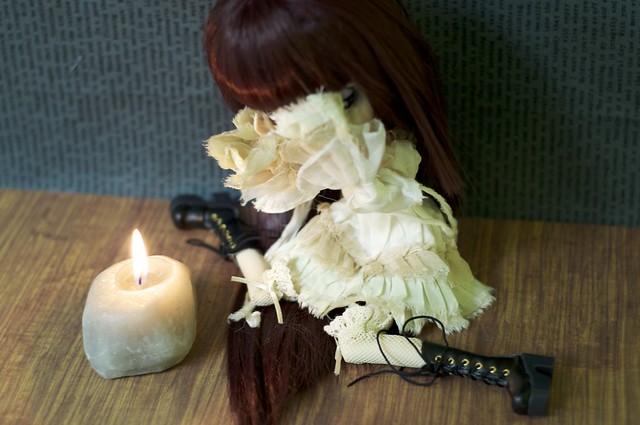
Which leads me to the bridge of the song, which shows Suri getting her makeover with Suzette.  I didn't put anything on the walls (they are my own craft room walls) but I'm glad I could make the American Girl vanity and salon chair to work for this scene.  It saved me a bunch of work McGyvering some type of bathroom scene.


Suri is ready for a new look

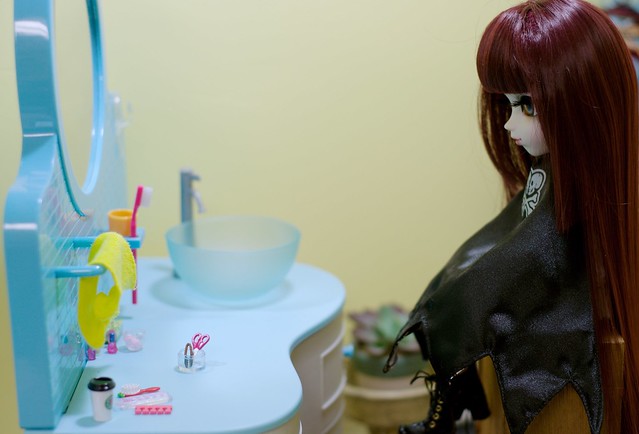
Between Vendettina's cape and my kids' AG accessories, I was able to set up a decent bathroom/home salon scene in no time.  The Rement scissors and other props don't look terribly out of scale with the vanity.

So that's it for this BTS post.  I make these mostly for my own reference, but if anyone happens upon this post, I hope you glean a bit of usefulness out of it!

Saturday, May 23, 2015

Moody Jax Photoshoot (Taeyang Natsume)

It's been a long while since I updated here, but I have been taking photos of my dolls again, and wanted to continue to document my progress. I actually found it very helpful to look back on what I had done before, and having this blog up to date has proven to be quite handy.

Today I returned to Pinterest for some posing ideas (see my post here, where I originally had this idea). This time I searched for "photography poses men" in the hopes of finding some evocative poses for Jax, my Taeyang Natsume.

This was the first pose to catch my eye:

Untitled
Pinned from Vogue UK
...and this is what I came up with:

Brooding Jax
Brooding Jax
I wanted Jax to be leaning quite far forward for this shot, but I was limited not only by the articulation of his body, but also by his fitted leather jacket and 2 players of cotton beneath it.  For the  tighter shot below I shone a flashlight on Jax's hair and allowed it catch his right eye a bit.  His downward-cast face and the fact that he is looking out of the frame of the photo give him a brooding, withdrawn, melancholy mood.

What is on his mind?


My second posing "Pinspiration" came from this pin:

Untitled

...and here is my photo:

Coming out of the shadows
Emerging from the shadows
Jax looks a little less sad in this photo, but still rather... wistful?  This was a pretty straightforward pose.  I leaned his left side against the wooden crate I had as a prop and stood him straight with relaxed arms.  I always check his writsts and elbows to make sure they are looking natural before I stake my shot.

My final pose came from this Pin:


Untitled


Because Taeyang can't rotate their heads up and down, I had to modify this pose so his body and face were pointing the same direction, but I tried to replicate his positioning the best I could.  I really like how this one came out.  I think it feels quite intimate, due to the close crop (I crop all my photos in camera, not in post-processing) and direct eye contact.

Those eyes!


While I had him shirtless and in bed (lol!), I tried a few body-centric shots just off the top of my head, and I like how they turned out.  I had trouble deciding between keeping these their natural colour or changing them to black and white.  I ended up leaving them natural because it made them feel warmer, which I think helps elicit the sadness I wanted for this photoshoot.

Relaxing "I'll see you in my dreams"

All the photos above were taken with a 50mm lens, shot with an aperture of 4.5, shutter speed of 1/50, and ISO of 200.  They were minimally processed in iPhoto only to correct for white balance (due to the yellow walls in my room).  I had the overhead lights turned off (there are no windows in my room) and used only the small lights in my "photo studio" to light all the shots from this session.

Untitled
BTS: Moody Jax Photoshoot
Clothes:
Stock outfit items, Ken doll jeans.

Sunday, March 23, 2014

Making Pullip Doll Photography sets for a small space

I have a small doll photography area at the end of my long craft table, and I've had a few questions from people who have seen my BTS shots (behind the scenes) on Instagram about how I set up my sets.  I'll try to explain how I have approached setting up a small doll photography studio and I also have a video to go with this post (you'll find it towards the end of this post).

For indoor doll photography, there are what I call on-location shots (like shots of dolls on their doll shelves, or around my house, by a window, etc.) where I use an already existing background as my set.  For these, I usually bring my photography bag with me (see a video on what I pack Here), and treat it like any outdoor photo shoot, except it is warmer and drier (usually).
BTS
On-location indoor doll photography
Then there are what I call studio shots, where I add props to a plain background in a semi-dedicated space and build a scene.
I use a small section of my craft table that is 36 inches wide by 30 inches deep, which gives me more than enough space to set up scenes with multiple dolls.  My table is deeper than most and I could easily make due with a standard depth of table.  I have 2 different types of sets for studio doll photography, and both types have several different options for set-up, so I end up having lots of different looks, all using the same 36 by 30 inch space.

The first type of setup is using a seamless fabric background (you could use a roll of wrapping paper too).  When I use this kind of setup I usually use minimal props, and the photos are more about the dolls than about setting a scene.  I hang the fabric from a curtain rod on the back wall of the space and let the fabric hang down the wall and across the table surface.

Below is a shot of my studio area when it was 30 X 30 inches (before I filled in the table between the end of the table and the wall on the right).  Sometimes I put something on the table to look like a floor (as below):
BTS Let Her Go indoor photo shoot
BTS photo shoot from January 2014

My first Pullip Music Video
Sample photo from the setup above

And other times I let the fabric be exposed on the floor for a true seamless look:
DSC_5979
Nero poses for his introductory photos on a piece of blue fabric
I have several different fabrics that I use, plus I have 2 purchased doll photography backdrops that I use as well:


Pointy wig
Sample photo using the above backdrop (don't mind the wonky wig)

So just by adding an inexpensive curtain rod on the back wall above my table, I have a range of options for backdrops that are limited only by my supply of fabric (or wrapping paper).  I do show the curtain rod itself and binder clips I use to attach the fabric in the video below.

Besides the seamless fabric background, the second setup I use is a 2-walled diorama.  To make a simple diorama all I needed was some foam board, patterned paper, mac-tac (cupboard liner paper with an adhesive backing on it), and bristol board.  Other supplies that come in handy and add to the options and details are pieces of narrow wood trim, velcro, tiles, or laminate wood floor pieces.  You can get even more detailed by adding a window using more wood trim pieces, etc.  

The video below shows how I go about setting it up in detail and talks about what supplies are required.  Since making this video I started working on a window that can be attached to the wall and detached when I take the set apart.  I will show that in a separate video when I get it completed and work out the kinks.


The video shows how quickly you can build and take apart these sets once you have them made, and then the fun part is the decorating.  My kids helped make these 2 sets:

The first set was created by my 8-year-old after I set up the walls and floor.  She put her own American Girl posters on the wall in the open space (where I plan to put a window once it's done).

Kids set design
Setup # 1 Red chevron walls with wood floor
Kids set design
Even in close-ups that don't show much of the room, having baseboard peeking out in the corner reminds us
Suri is in her bedroom
Kids set design
The brush is a prop only- do not use aplastic brush on your doll or her hair will become very frizzy!


As the video shows, all I did to get this second, completely different looking room is turn around the foam board and switch out the floor!  This room was decorated by my 7-year-old daughter:
Kids set design
There is lots of room for several dolls in this small set
Kids set design
I'm not sure why Ally is holding a giant stop watch, lol!
Kids set design
It feels like things are happening when there is lots of stuff in a room.
Kids set design
It's apparently a very sad movie!


I hope you found this helpful.  Feel free to share your ideas for setting up photography sets here or on my YT channel!


Thursday, March 6, 2014

In the Apartment Today March 6

In the Apartment Today:

In the Living and Bedroom
Most of us are here in the living/bedroom

Nero and Suri Chat
Nero and Suri chat

Suri Explains her latest painting
While Suri paints

Ally Feeds the birds
Ally feeds the birds

Ally tiptoes around Jax to feed the birds
She tiptoes around Jax so as not to wake him

Tweet tweet!
"Tweet Tweet!"  "Shhhh, birdie, Jax was out late last night!"


Luna is exhausted after her first shift waitressing

Rest your feet, Luna!
Ahhh!  That feels good!


Sleeping Luna
Rest, sweet Luna

An uneaten egg tart
An uneaten egg tart

Jax snoozes after a long day of making music
There is clearly not enough caffeine in that coffee!

It's all in the details
Almost finished this piece!

Meanwhile, in the kitchen...

In the Kitchen and Dining Room
Nikki and Suzette are working away


Mis En Place
Suzette is making a welcome cake for Nero

Suzette is baking a welcome cake for Nero
This is an old family recipe.  I hope he likes it!

Nikki checks on the chicken

Almost done!
It's almost done!

about 5 more minutes
We'll give it 5 more minutes


And that's what's happening in the apartment today!

Check out the slide show: