Showing posts with label DIY. Show all posts

Thursday, September 10, 2015

Witchy Doll Shelf

So obviously, I can't have the other-worldly dolls mingling with the general Pullip population (because that would be complete mayhem!), so naturally, I needed to find some dedicated space for my newest creepy residents.

This space is conveniently free (upon the moving out of my husband... from my craft room, not from my life!):

Before
I started with a plain shelf and a piece of purple sparkle fabric

I sewed a hem around the perimeter of the fabric, then used my trusty hot glue gun to stick the fabric to the edge of the shelf above.  Here is a shot of it almost fully glued in place:
Witchy doll shelf


Then I used more of that amazing hot glue stuff to stick the fabric to the ceiling of the shelf where my dolls will live.  Here it is, again almost fully glued in place:
Witchy doll shelf

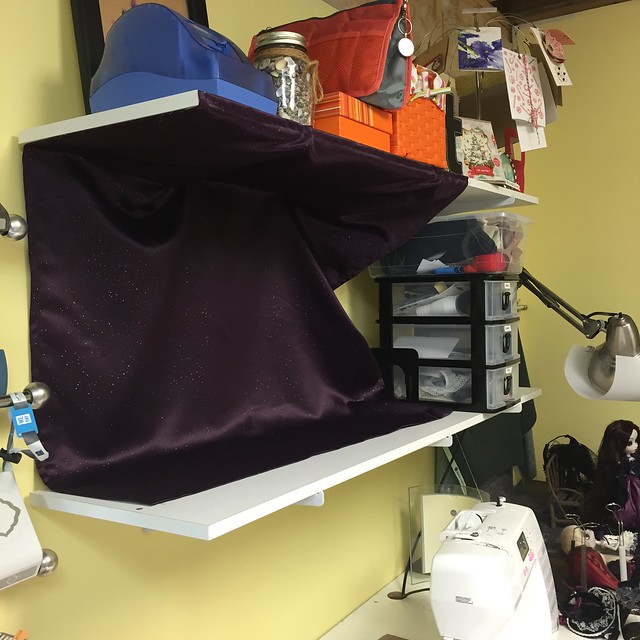
With the ceiling and back wall covered in purple fabric, I played 3 floor tiles on the floor of my doll shelf (these are left-over porcelain tiles from my kitchen floor).  This step is not pictured.

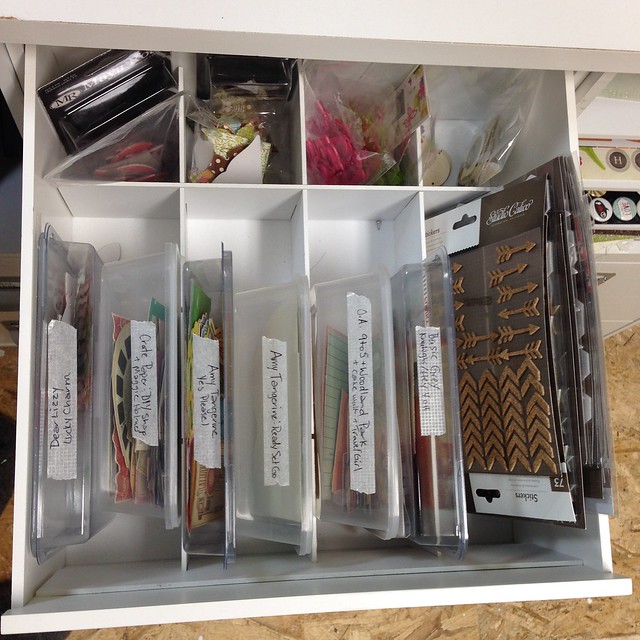
Then I took a piece of foam-core board and covered it in Halloween scrapbook paper (I have a few pieces of scrapbook paper lying around my room).  I also decorated it with Halloween trim from my scrapbooking supplies and used friction and a book-end to hold it in place as a second wall.  The wall provides a nicer background than my craft bins.  The fabric doesn't lie flat because of the kind of brackets these shelves use, but I kind of like the drapey look.
Witchy doll shelf

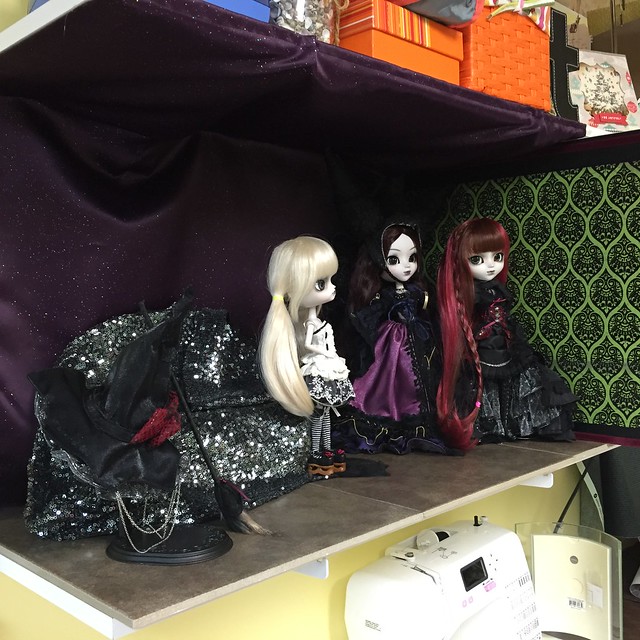
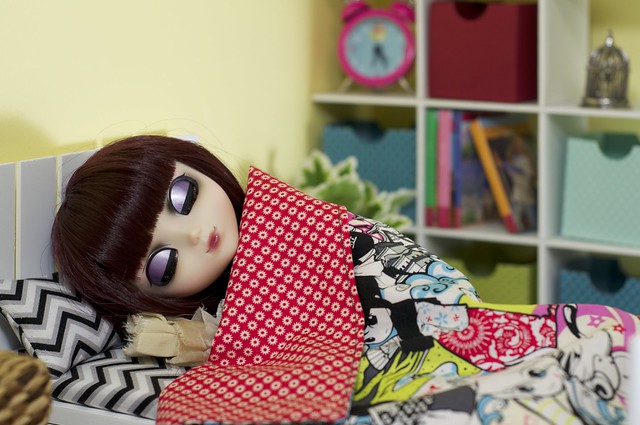
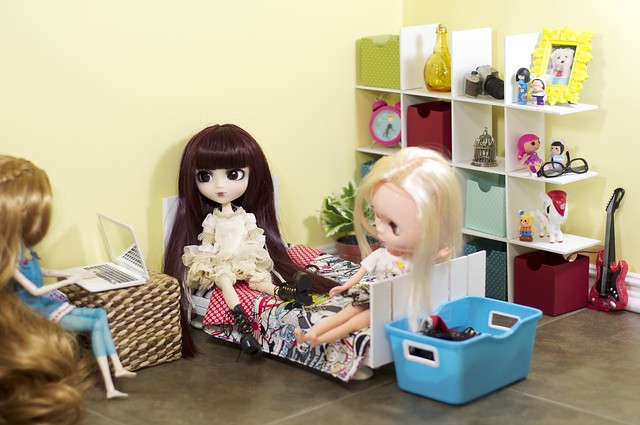
I ran out of time so I basically just shoved my dolls in there along with a wicker bench that I covered in this fancy sequin fabric (I just wrapped it and draped it over the bench, it's not permanent).  I have a few props that I plan to make, and a few I will buy from the Halloween decor section at a store.
Witchy doll shelf

I love that they have their own little den!

Monday, February 3, 2014

Making books for Pullip dolls

Now that I have a bookshelf for my dolls, they need some books, so I set off on the internet looking for book cover printables.  I happened upon the Resin Muse blog which had printable book covers in 2 different sizes... perfect!

(just a note that I don't even know what "recast BJDs" are, so by linking to her site, I am not endorsing whatever she is talking about, nor am I condemning it- I just like her book cover images, which I am using for my own personal use)

Here's an instagram of Suzette and Ally discussing which book of the Hunger Games series was the best:

image

And here is my tutorial on how I put together these books:
 

Making a Pullip Couch and Coffee table from scraps

Last week I hit my Jetmax scrap bin again, this time to make a Pullip couch for a scene in an upcoming music video.  If you missed my post on building a bed and bookshelf from Jetmax scraps, check it out here.

Here's how my latest project turned out (tutorial video below):

DIY Couch and Coffee table
Luna and Suzette appreciate finally having a place to sit down!
image
Suzette: "Whatever you do, Luna, don't move!  There's a Giant CAT behind you!"
And here's a video of how I made it (the supplies including measurements are given in the video):


Thursday, January 23, 2014

Building Pullip furniture from left over Jetmax cube pieces

I've got a bunch of these Jetmax cubes from Michaels in my craft room (now sold under the Recollections brand):
These are some of the Jetmax cubes from which the pieces came
Some of my Jetmax cubes
They come in a lot of different varieties with combinations of shelves, and drawers, and I don't always use them as they are intended so I end up with a lot of spare parts. I rarely use the dividers like the ones in the drawers below, for example:
IMG_0477
I modified these dividers, only using some of them so I could have rectangular spaces
Here are just some of the spare Jetmax parts I had sitting in my back room as of this morning:
Jetmax cube leftovers
I knew I was holding onto these for a reason!

I decided to use the 6 pieces that make up a drawer divider insert like this to make a doll bookshelf:
IMG_0478
A modern doll bookshelf
Ikea makes a really nice doll version of the Expedit, which is a popular bookshelf among scrapbookers (the full size Expedit, that is!) so I would love to have that shelf.  But alas, Ikea has not deemed the East Coast of Canada worthy of their flat box Swedish goodness, so I cannot have one of those.  But this one comes pretty darn close!


 Then I took these 4 parts (and 2 more of the smaller pieces) and bought 4 small wooden drawer nobs (not shown here) to make a doll bed:

Soon to be a bed


Check out the video:

 Here's how they look in my photo studio area:
Suri's slumber
I'm so happy to get to use this fabric I've been hoarding since the summer!
Using my Silhouette Cameo I cut some boxes out of patterned paper and card stock and my daughter and I folded, glued them, and punched a notch out of the tops of them.  We decorated the shelves with a combination of my own doll props and her American Girl stuff.

Suri's new room
The bed is so comfy, Suri won't wake up... even when Nikki arrives!

I grabbed some of the extra tiles we had from our kitchen (which were lying in a stack in our utility room) and bought a stick of moulding when I picked up the nobs for the legs of the bed.  Although the scene is missing a wall hanging above the bed (I'll work on that this weekend) I think it turned out ok for 1 morning of work and $14 out of pocket (the nobs for the bed legs were $2 but the moulding was a whopping $12!!!)

just hanging out in the new room
Suri finally wakes up and hangs out with her friends (including my DD's knock-off Blythe)

Although it looks like a doll room, this is actually a photo set!  It can be taken apart and replaced with other items, or fabric can be hung in the place of the set to provide a backdrop for doll photos.