Showing posts with label doll customization. Show all posts

Monday, March 6, 2017

Re-Styled Wren!

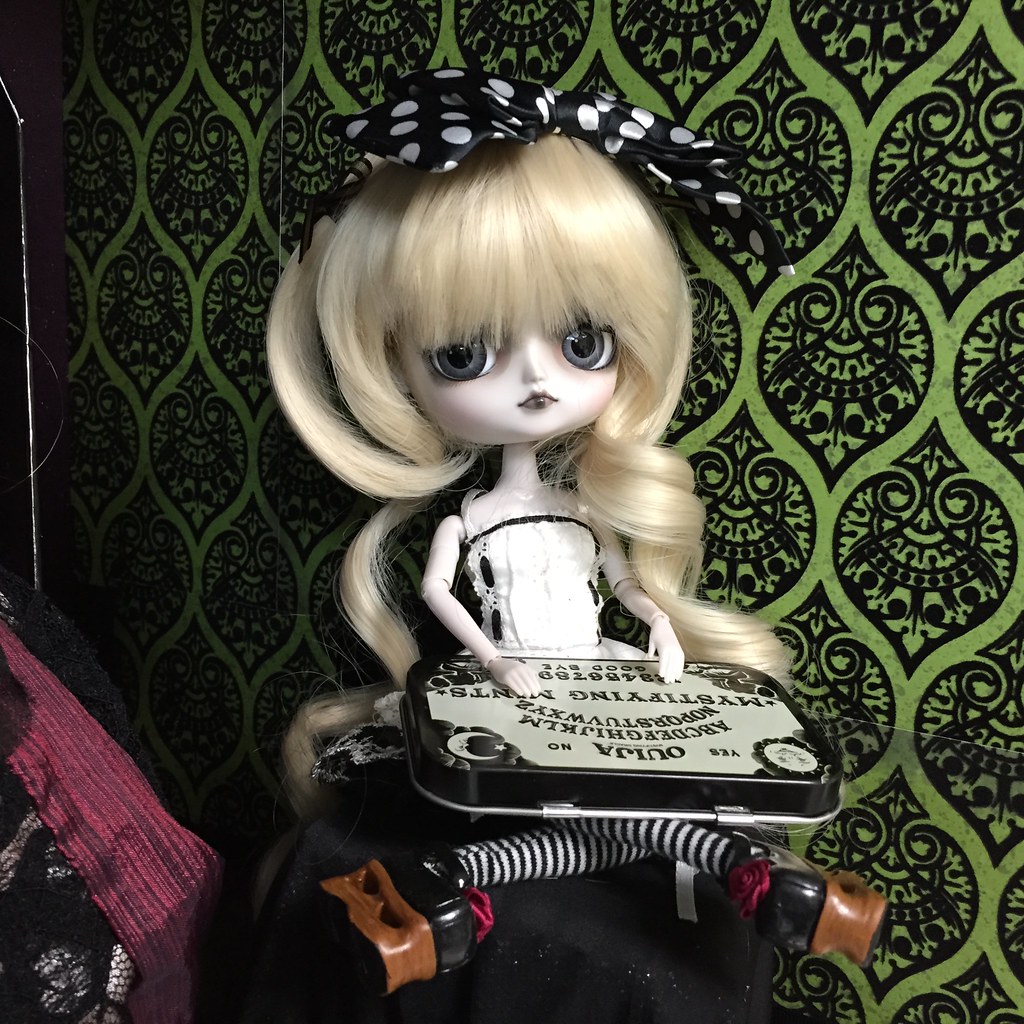
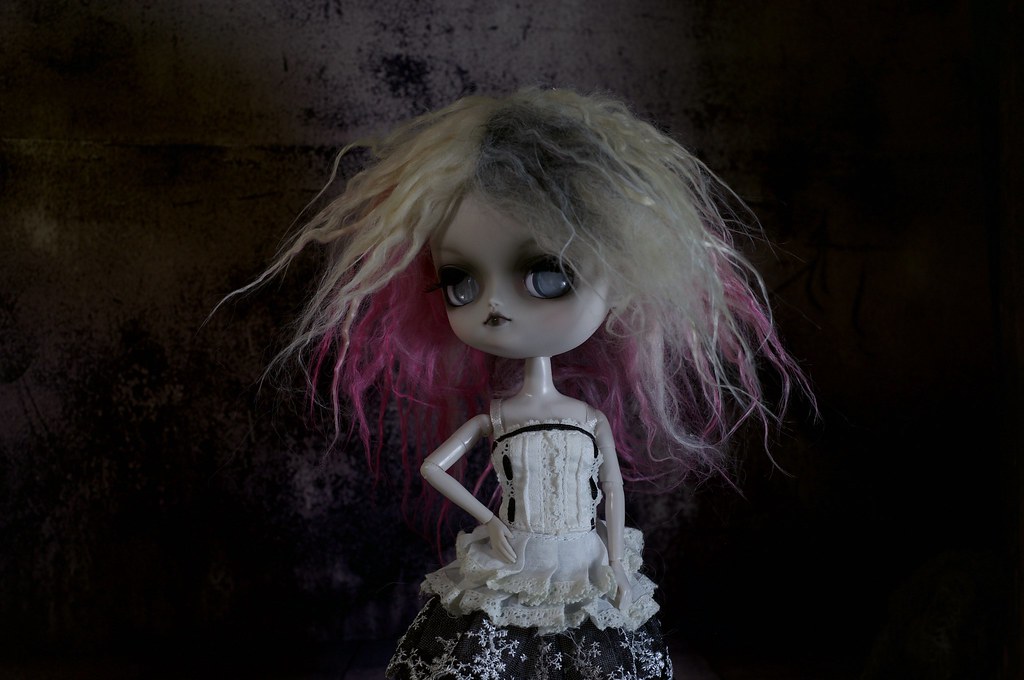
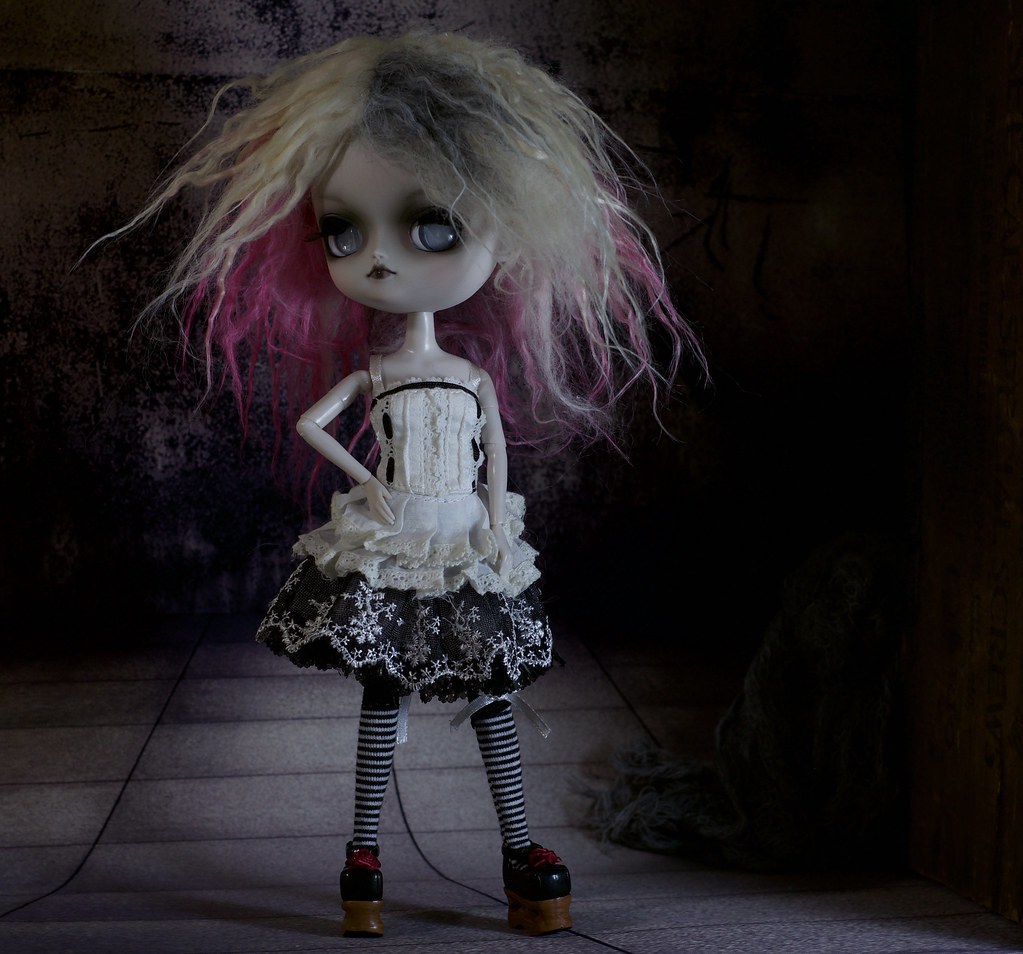
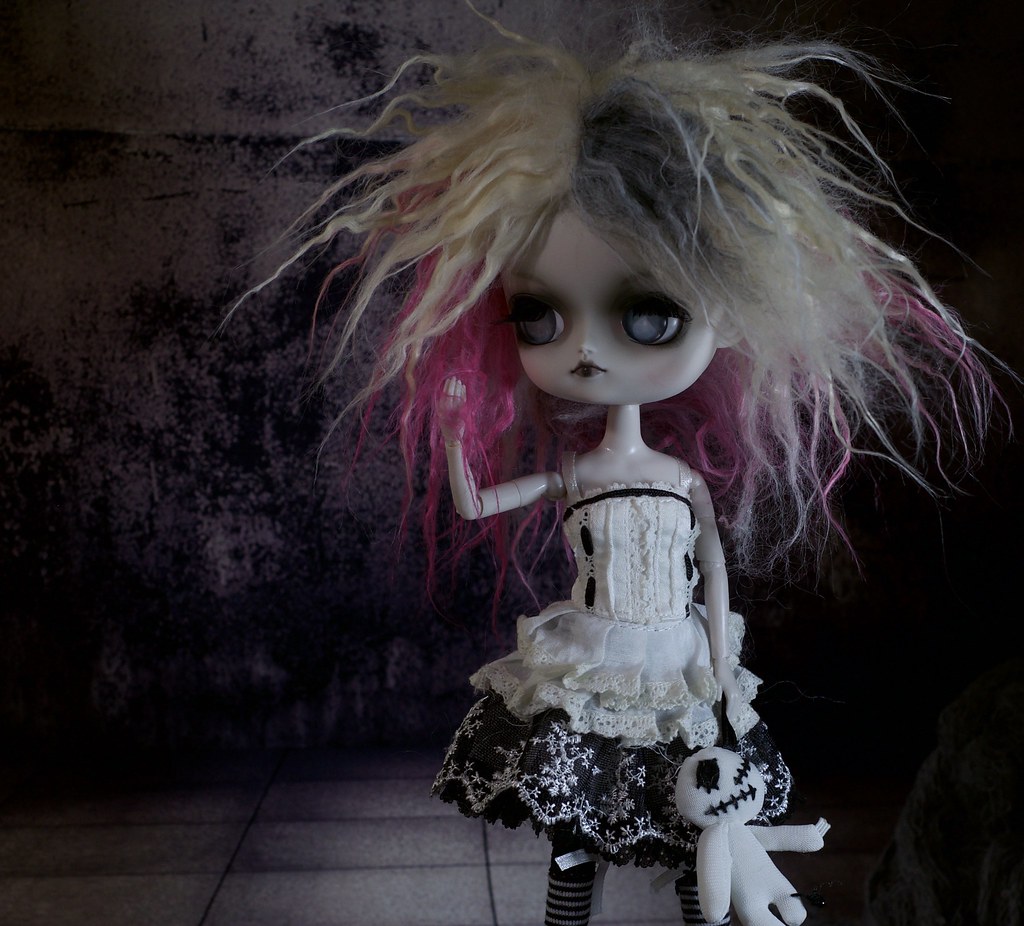
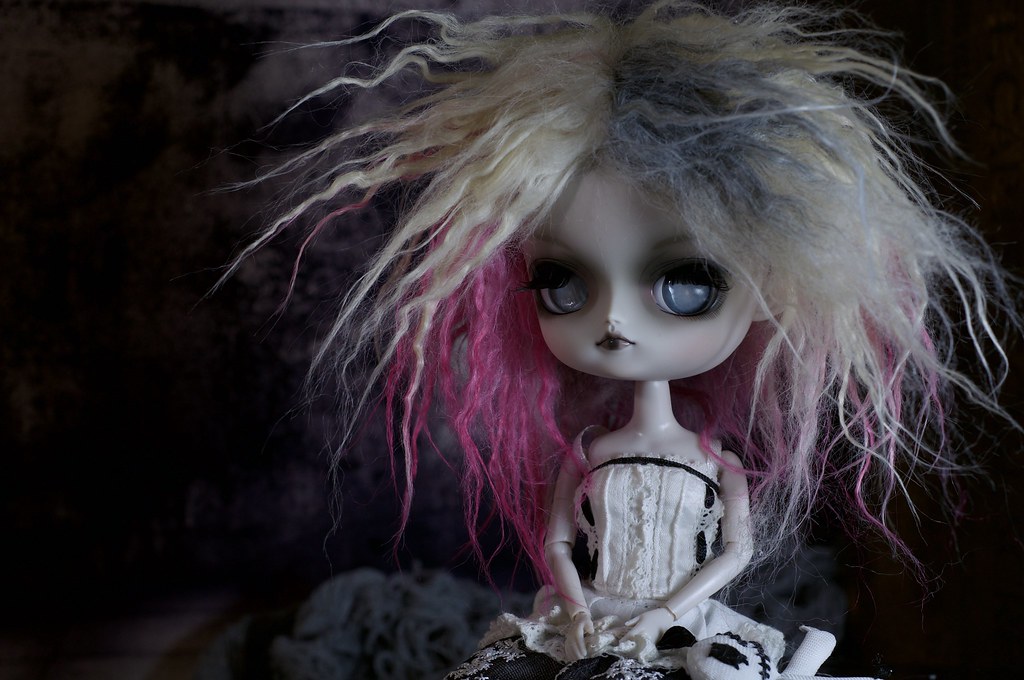
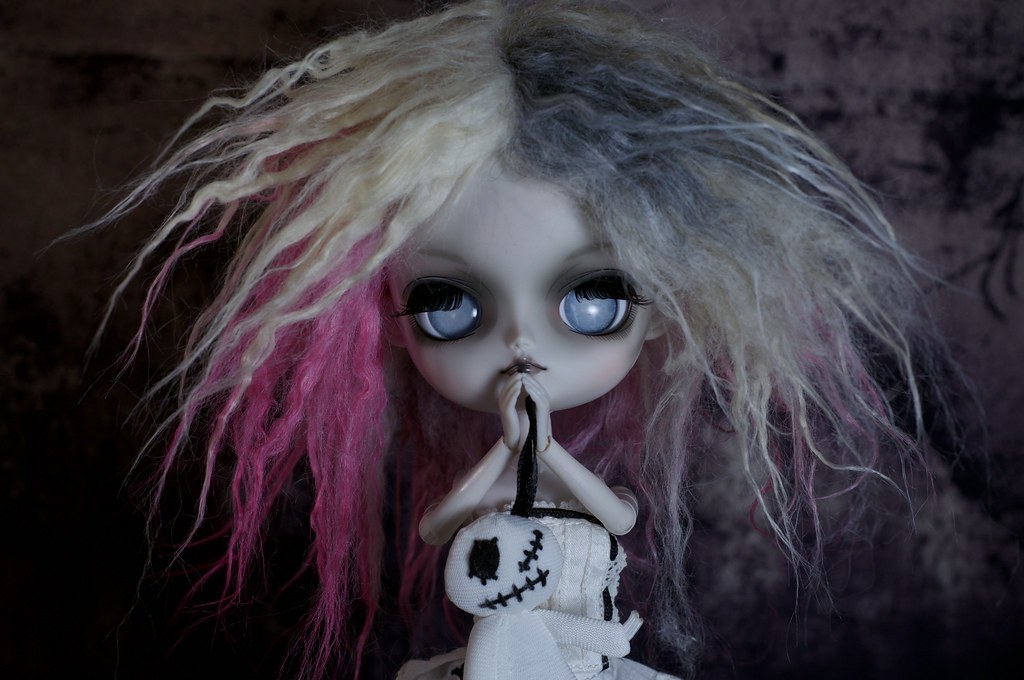
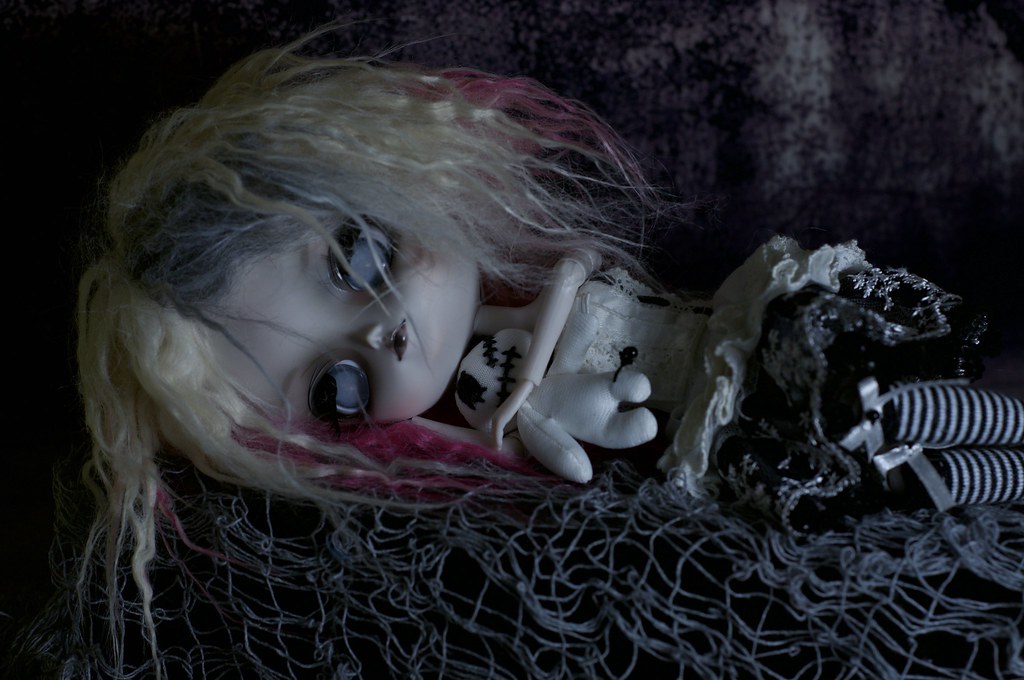
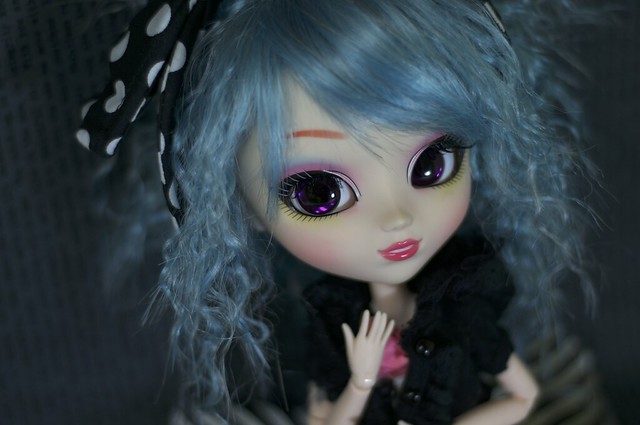
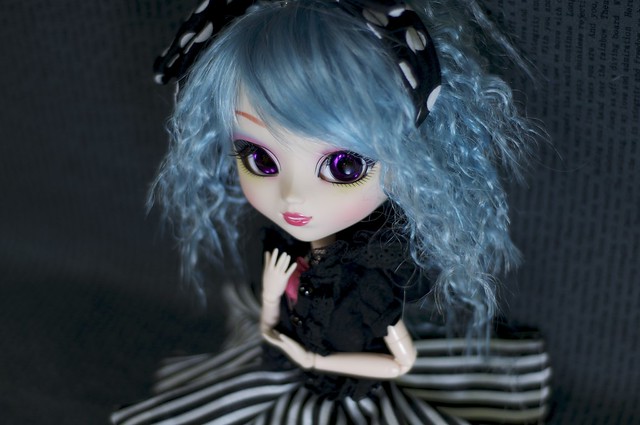
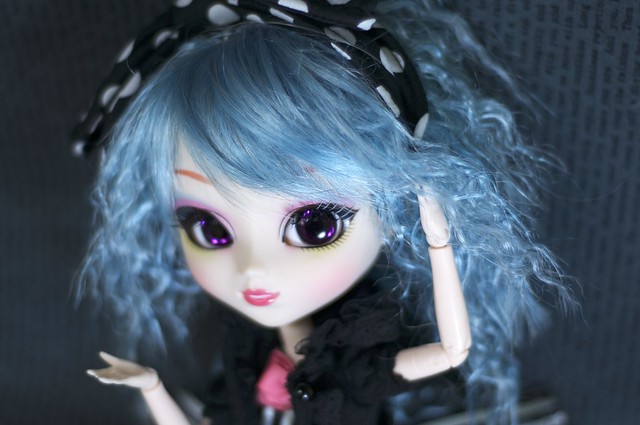
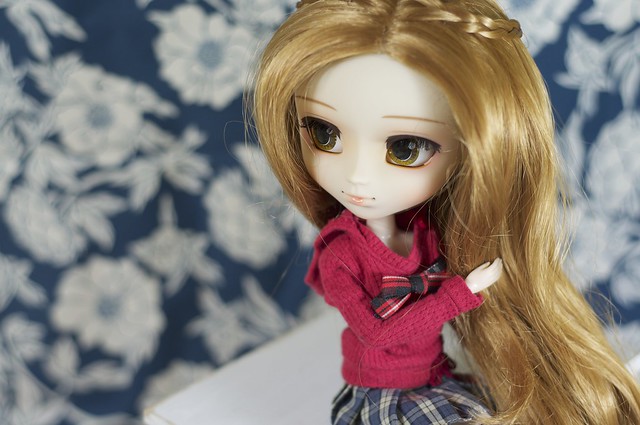
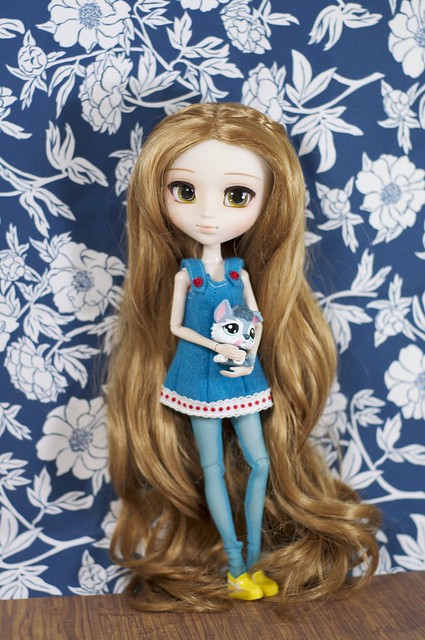
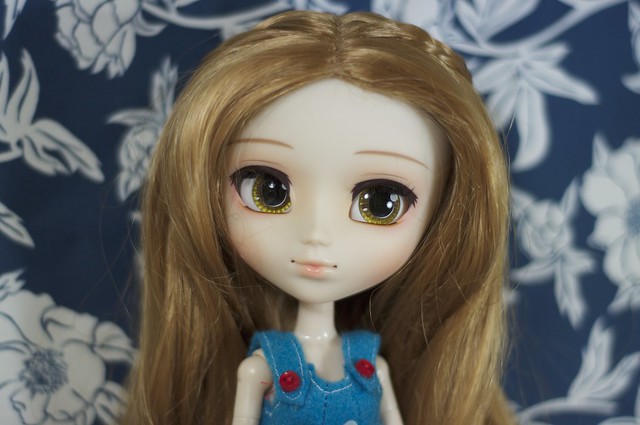
Today I finally got the courage to modify my Dal Lyla, whom I have called both Wren, and Savannah. My first impression of her was that she would be a bratty spoiled ghost-girl with a stormy temper. I rewigged her into a hair style that was really similar to her stock wig, but with cute ringlets at the front. Here's how she looked: The more I worked with her, the more it seemed that the name "Wren" suited her more, and a different character started to emerge.
Wren
Wren/Savannah before her update
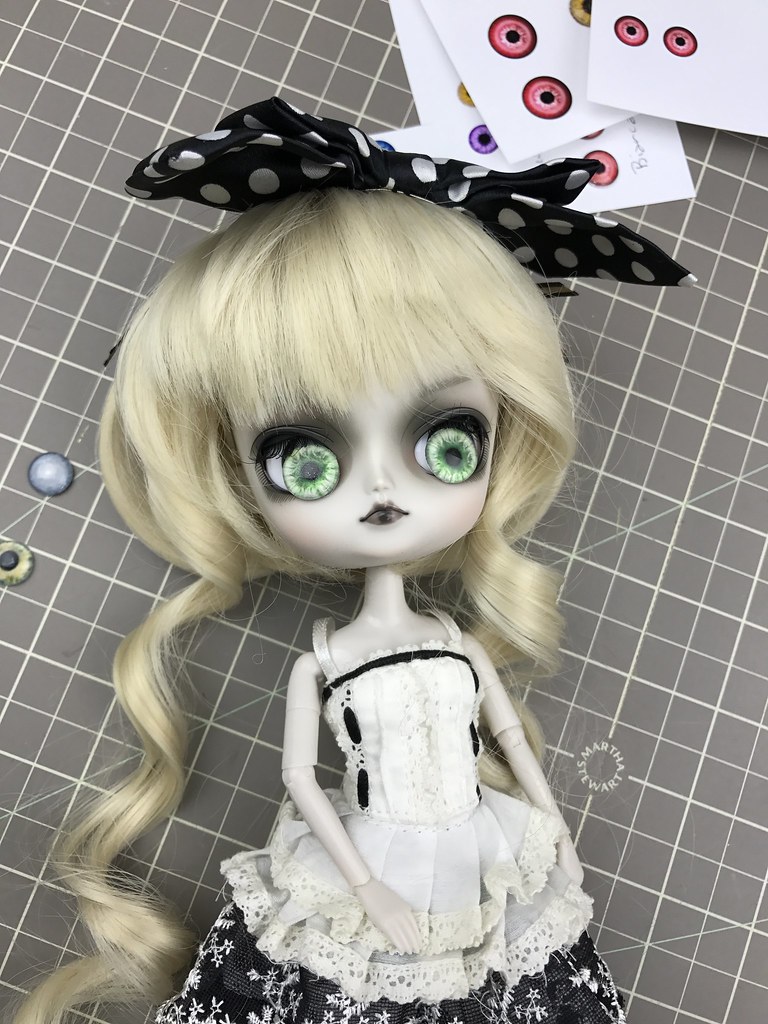
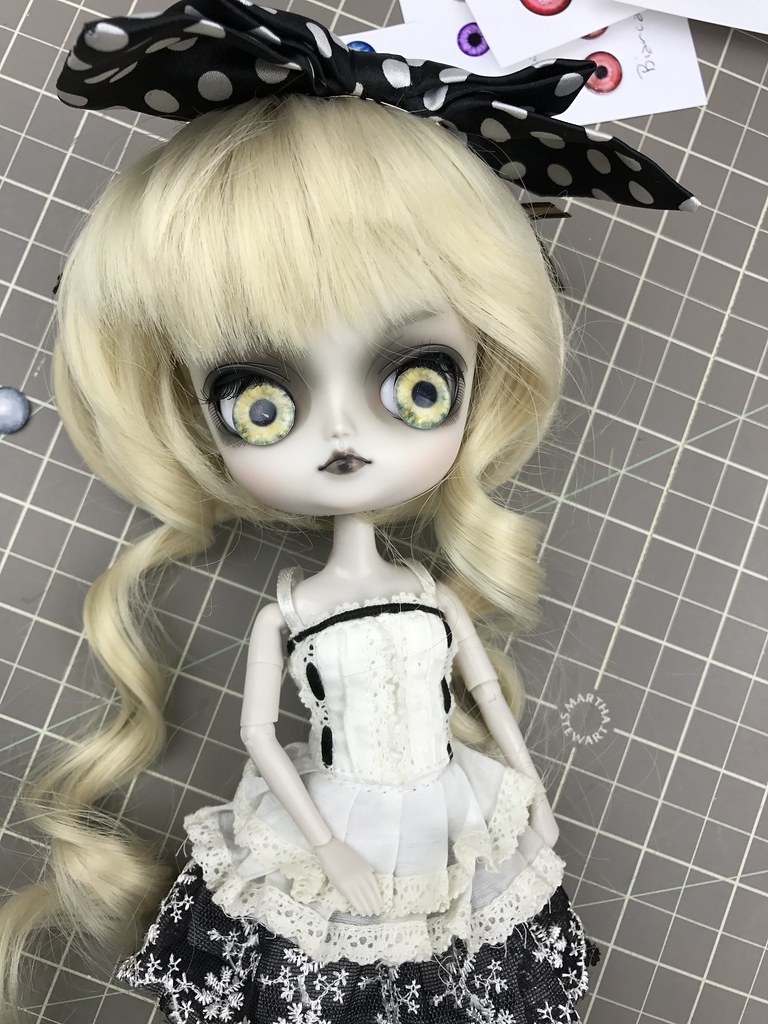
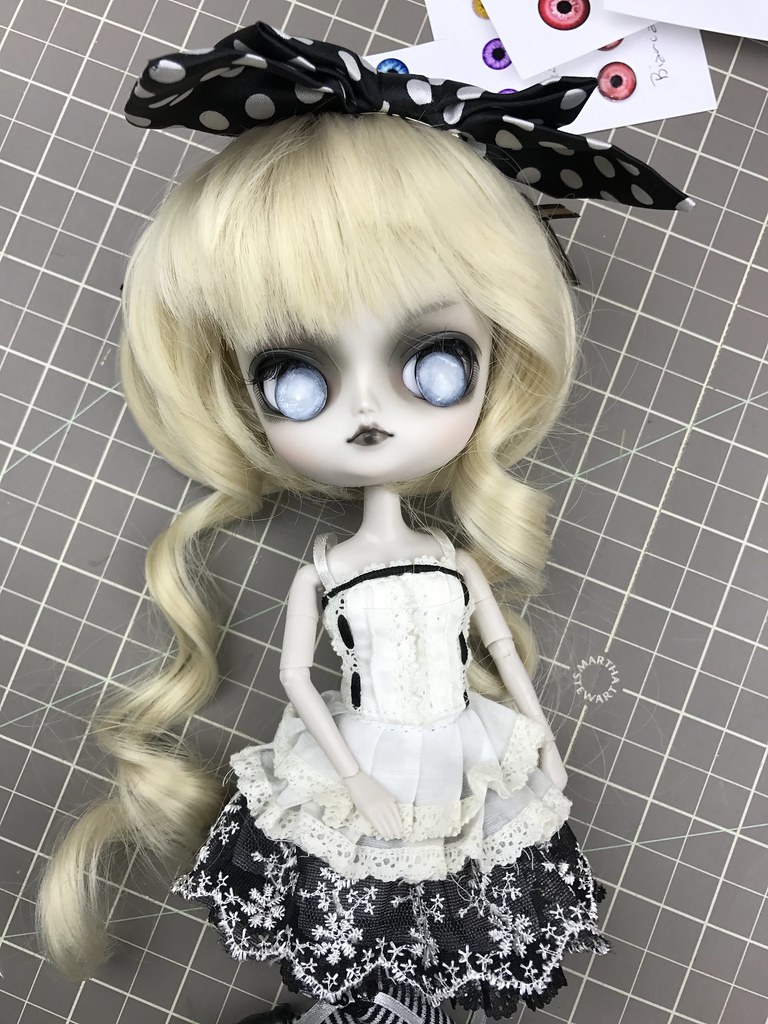
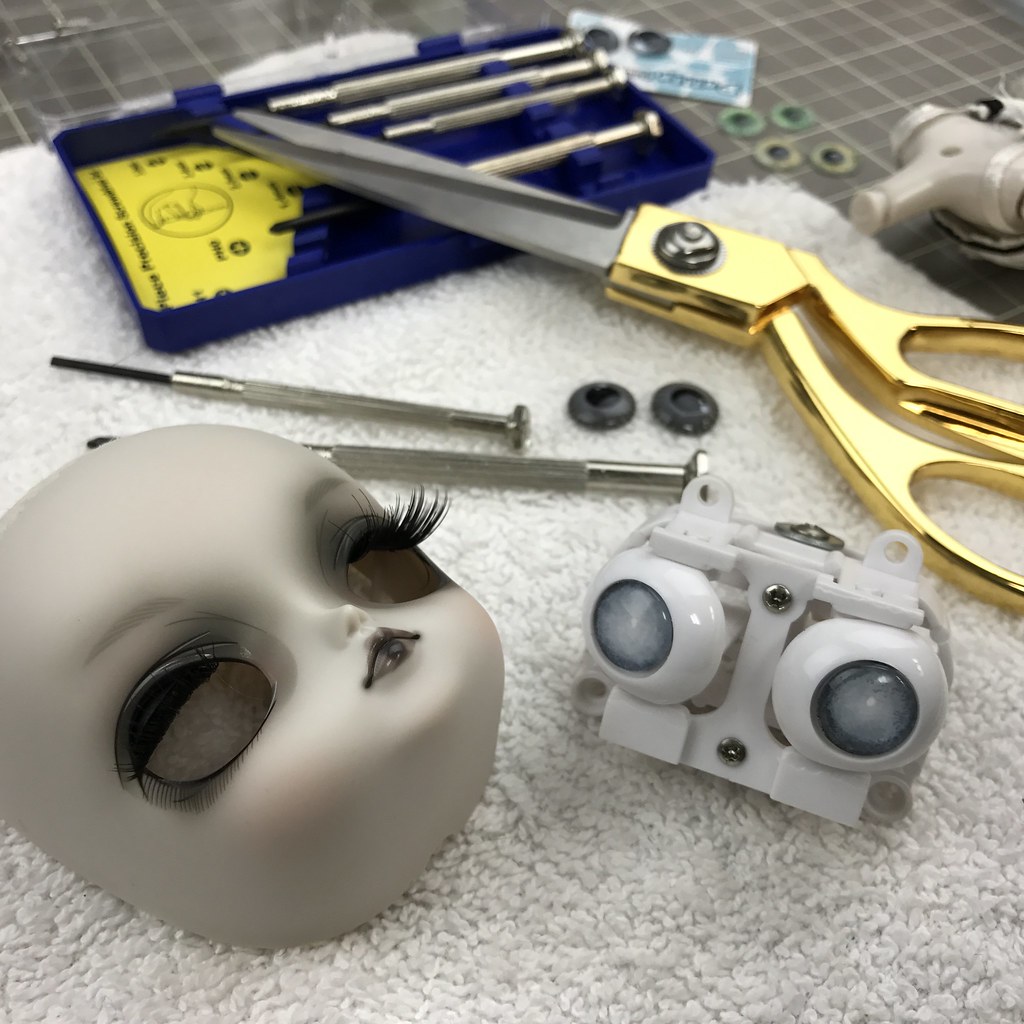
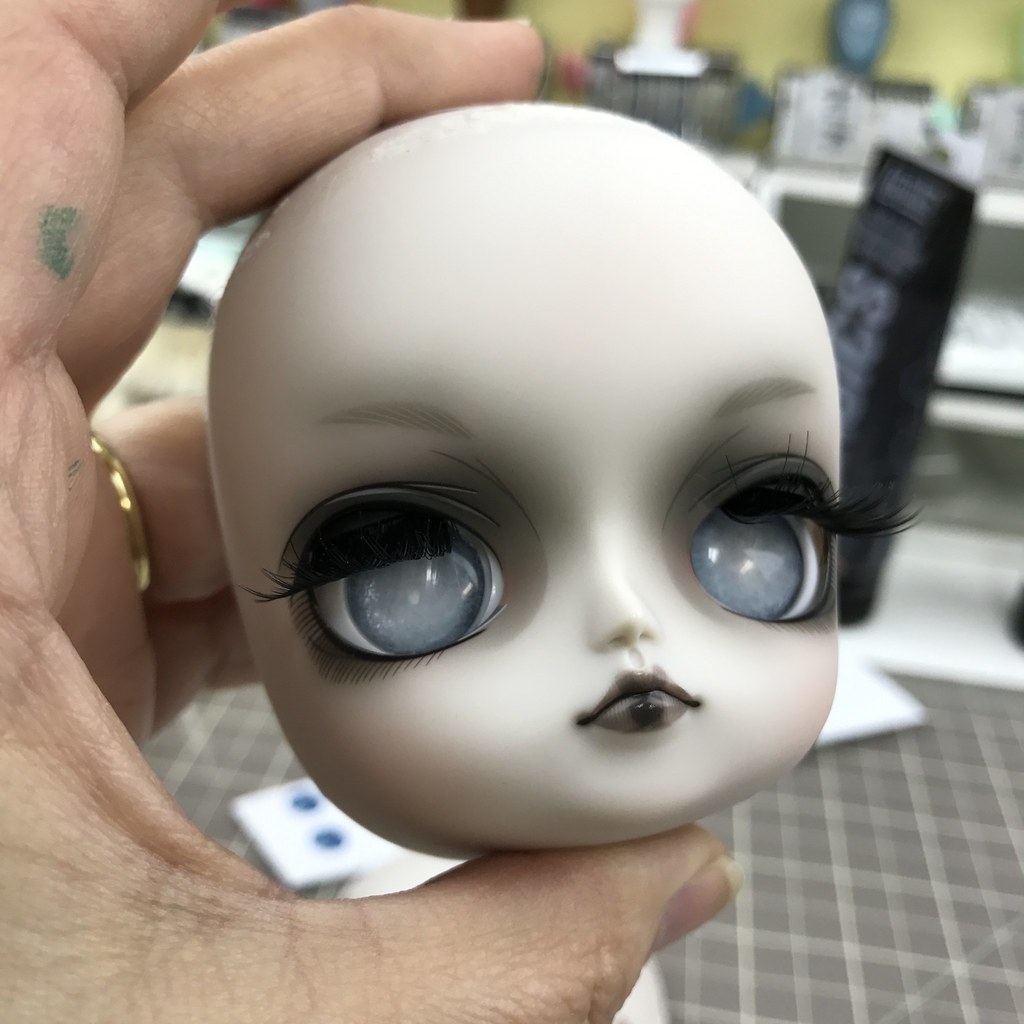
So I thought I'd make her a bit more creepy, and decided to change out her eyechips, maybe to grey and white. I made some grey and white eye chips, as well as a few other options:
IMG_6648
Trying on these green eyes (over her current eye chips)


IMG_6649
Trying on yellow chips
IMG_6651
these are the ones I made with Copic markers
IMG_6656
Looking better already with her extra lashes!
IMG_6659
I was pleased that they looked so great, despite some imperfections in the chips
IMG_6661
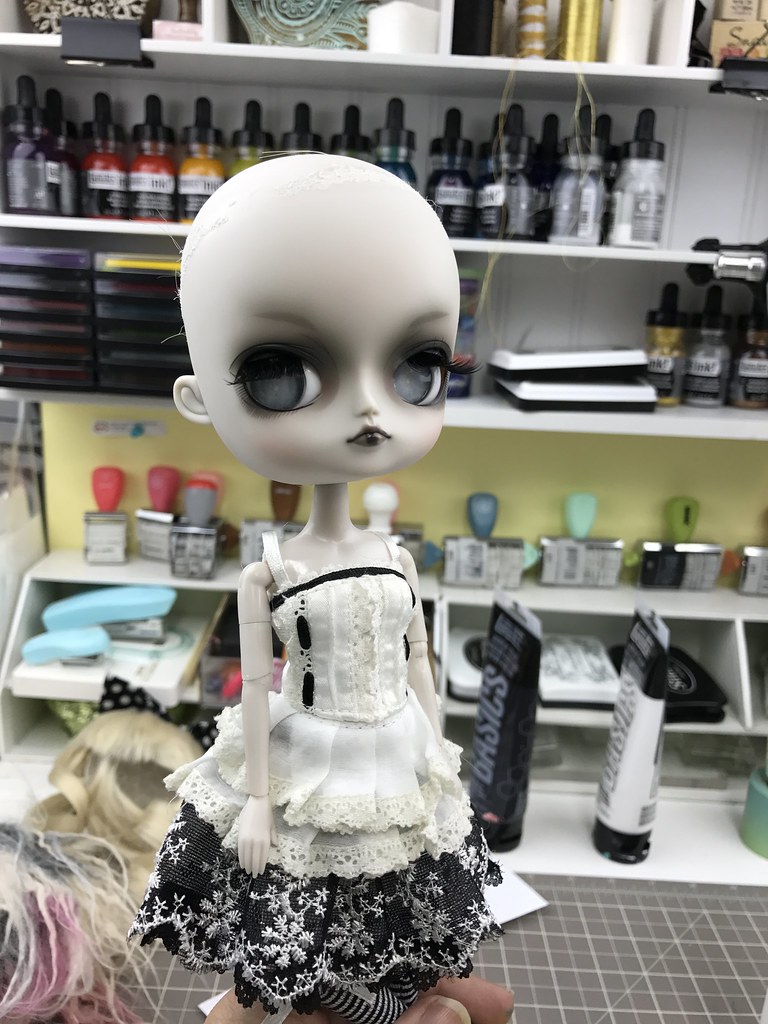
For once I didn't forget to attach her body
IMG_6667
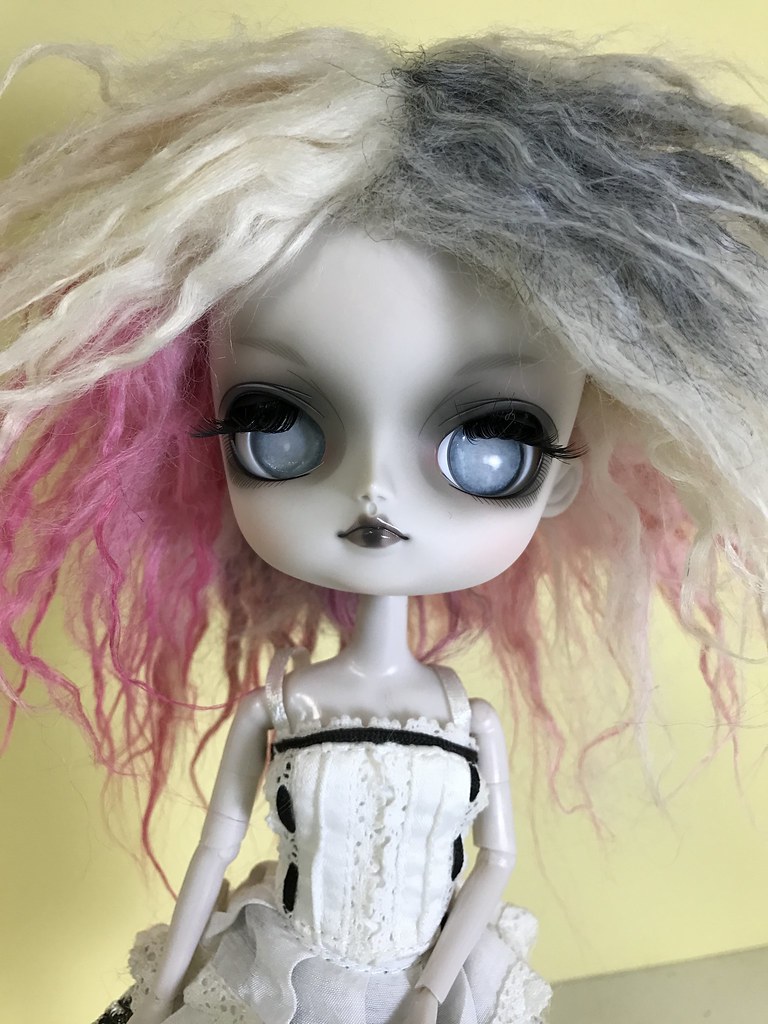
I gave her this fabulous fur wig
DSC_1275
“The cries of the dead are terrible indeed; you should try not to hear them.” 
― Philip K. DickVALIS
DSC_1280
“We're all of us haunted and haunting.” 
― Chuck PalahniukLullaby
IMG_6670
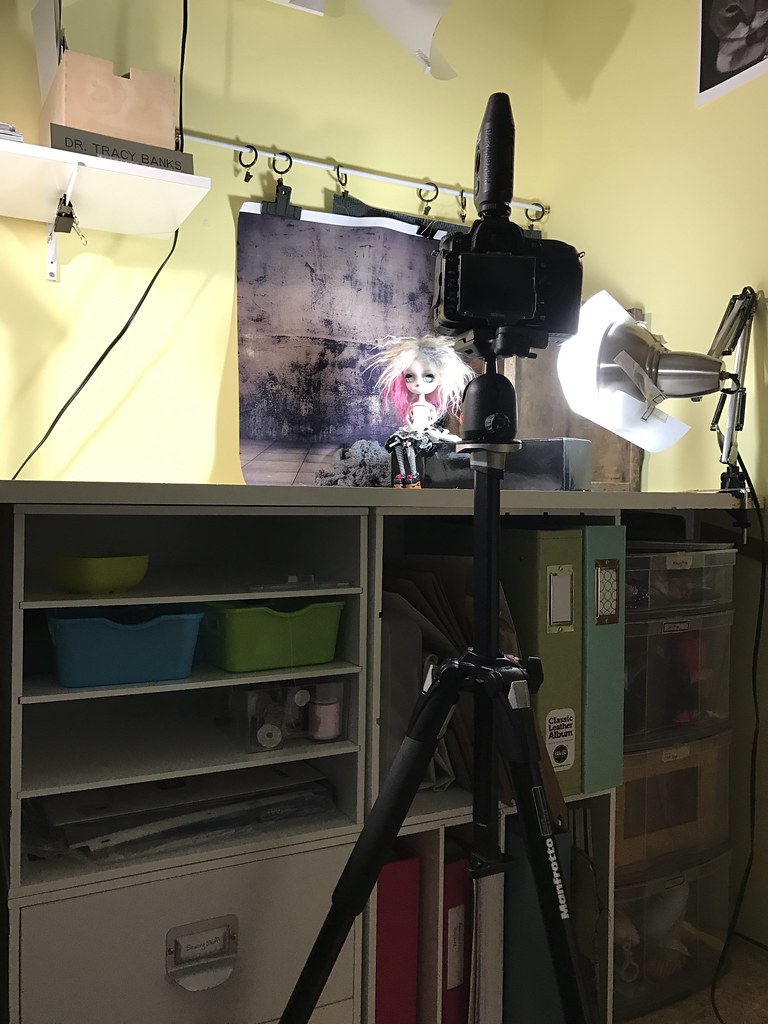
This is where I spent an hour of my morning
DSC_1282
“To be haunted is to glimpse a truth that might best be hidden.”
― James HerbertHaunted
DSC_1290
“Ghosts could walk freely tonight, without fear of the disbelief of men; for this night was haunted, and it would be an insensitive man who did not know it.” 
― John SteinbeckTortilla Flat
DSC_1294
“It was haunted; but real hauntings have nothing to do with ghosts finally; they have to do with the menace of memory.” 
― Anne RiceThe Queen of the Damned


starstar
DSC_1310
“There is a child - a baby - who long since kicked off her blankets. Her skin is ashen and her mouth open in a perpetual yet silent scream. She isn't old enough to roll over, to sit up, to climb. So she lies there kicking her fat legs against the footboard of the crib, eternally calling for her mother. For food. For flesh.”
― Carrie RyanThe Forest of Hands and Teeth 


Saturday, March 15, 2014

My Not- Romantic Alice Pullip

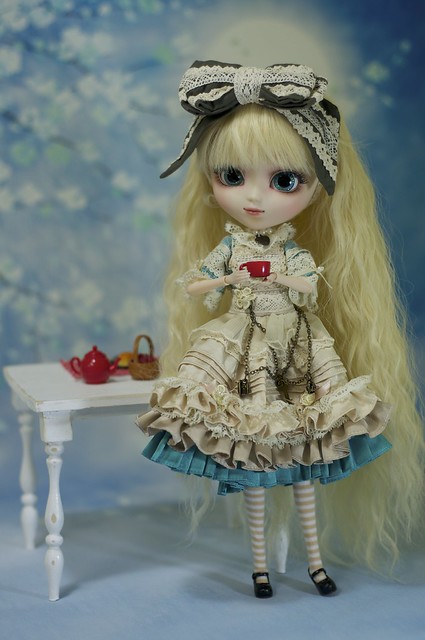
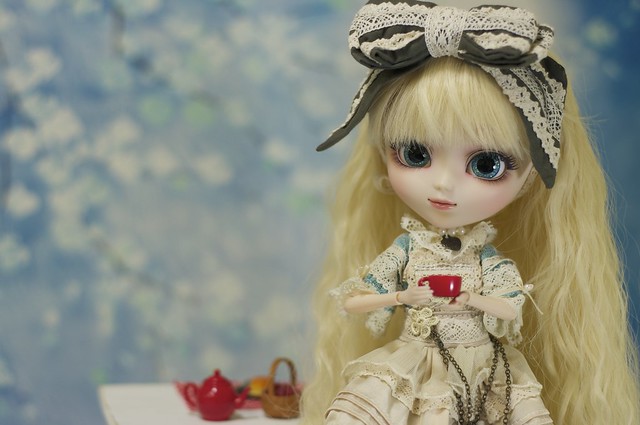
I've been wanting Romantic Alice, but not really wanting to buy a new doll, so I decided to buy her stock outfit (used, on eBay) and then try to find a wig that would complete the look.  My Suzette doll (Pullip Io) has been in need of a re-wigging (she been wearing a plastic orange wig since I bought her) and she has the most amazing blue sparkly eye chips I've ever seen, so I thought she'd made a good Alice.

I found this wig at the Fatiao Doll Shop on eBay and it look amazing on Suzette with the Romantic Alice stock outfit:

Have some tea!
"Would you like some tea?"

Just for comparison, here is what the original Romantic Alice looks like on the Pullipstyle website:

Romantic Alice (stock image from Pullipstyle.com)


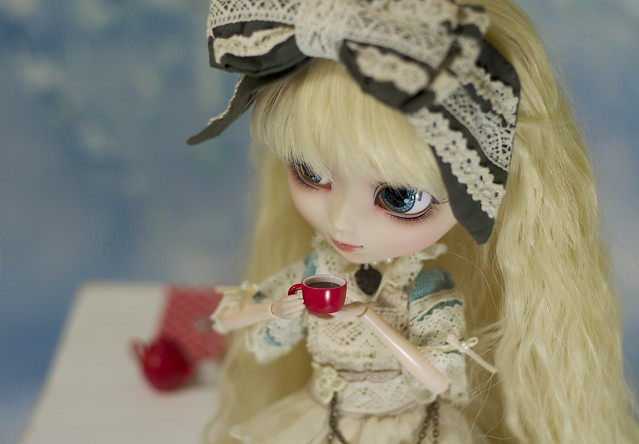
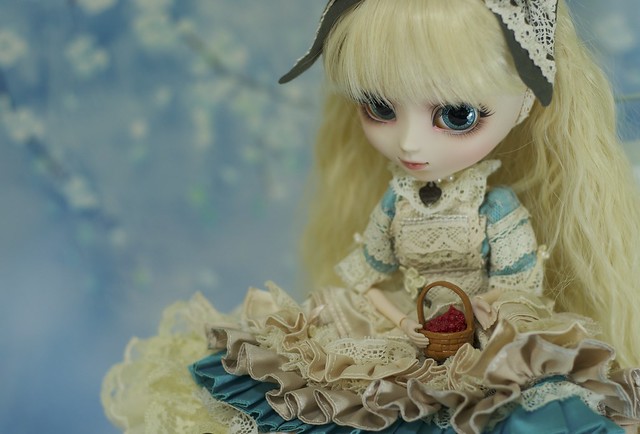
Not a bad match, eh?  I actually like her better with blue eyes than brown, as it really brings out the blue in her dress.  Here are some more pictures:

Have some tea...
Raspberry tea is delicious!
Delicious tea
Wait, do I see a rabbit over there?
Pullip Io as Romantic Alice
With a Rilakuma tea set
Pullip Io as Romantic Alice
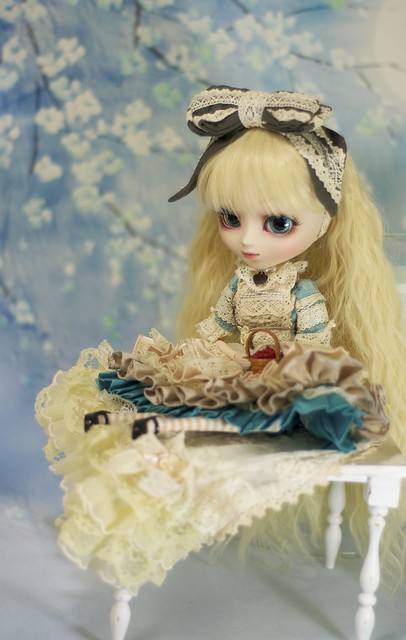
All the pretty frills, lace, and ruffles!
Pullip Io as Romantic Alice
Suzette is now by far the prettiest of all my dolls!
 

Video share:

Pullip Luna's new wig

I've been searching for a fluffy, funky wig for Luna since December and finally broke down and bought This wig at Jpopdolls.  I say "broke down" because the shipping was a lot higher at this shop than I wanted to spend but I couldn't find another wig that I wanted nearly as much.  I am so in love with the new Luna:

Luna's New wig
"Who, me?"
Yes, you, Luna... you look amazing!
Luna's New Wig
"Why thank you!"
Luna's new wig
"You must like my new hair, do you?"
I think it suits her quite well!  At first I thought I'd have to change her purple eye-chips, but the more I look at her, the more I like them as they are.
Luna's new wig
Loving this head of soft wavy hair!
I made a video showing the wig in detail:

Monday, February 17, 2014

Pullip Doll rooms and misc. updates

This weekend we were snowed in so I got a few doll-related housekeeping tasks done.

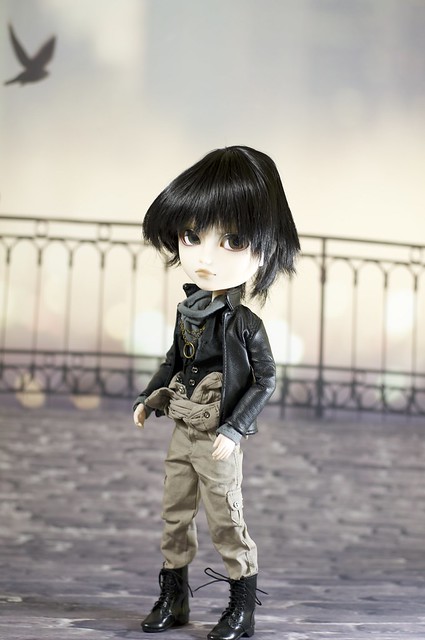
I rewigged my Taeyang Natsume doll (Jax) with a Luts wig:
Pointy wig
Now that's more like it!
So this was my first time using a Luts wig, which I knew tend to run a little small.  I could't find the style I liked in the larger size, so I took a chance and ordered the 8-9" anyhow, hoping i could make it work one way or another.  It too some wrestling to get it on, and it does't sit flat against his head, resulting in a bulge on the top of his head (see in the pic below).
Pointy wig
Pointy wig :(

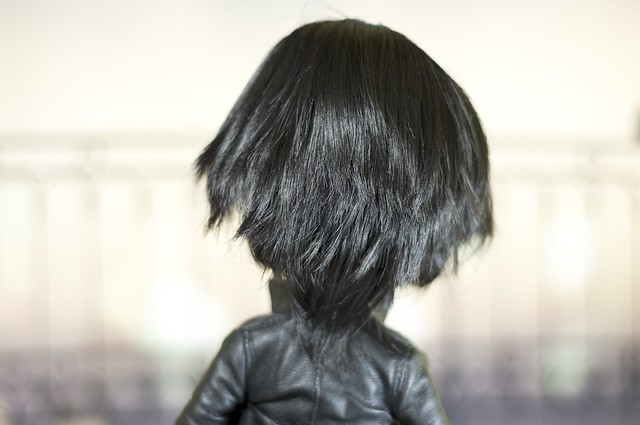
I do really like the style of the wig, and I've read that you can fix this kind of problem by cutting a slit in the wig and sewing in a triangle of elastic to make it bigger.  I like the shagginess of the cut, although it turns under in a funny way on one side.  I'm hoping I can get it to flip out on that side eventually but I'm focussed on fixing the top-of-the-head bulge first.  The back is just amazing and the overall quality of this wig is really impressive.  Very soft, shiny, full wig.
I love the back!
but I love the back!!


I'm really fortunate to have a large craft room, and I have lots of storage space that I don't always need to use, so I moved some things around and ended up with a whole extra 4-foot shelf.  I decided to use this shelf to set up a doll room because I was having trouble storing the doll furniture that I've been making.  I figured, rather than have it in boxes and bins and taking it out every time I wanted to set up a scene for photography, I might as well have it out on display.  I don't have any photos of my space, but this video shows the shelf as well as a few other doll areas in my room:


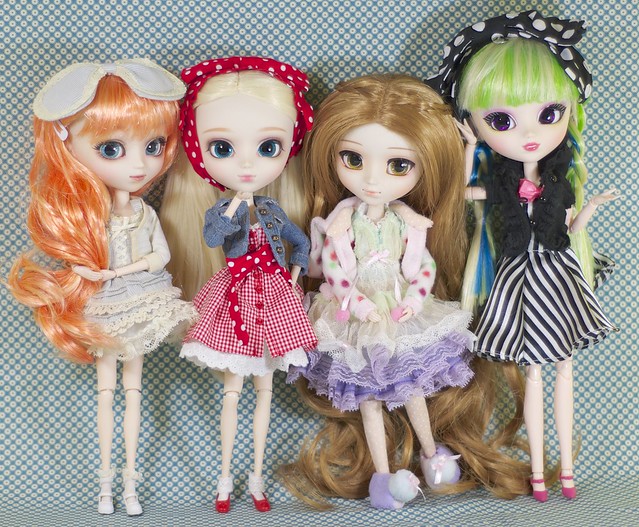
Finally, I had a bit more time while the kids were playing, so I decided to redress some of my dolls.  I wanted to dress them all in Groove outfits, and here they are:

All dressed up and nowhere to go!
All dressed up, and nowhere to go!
Above, from left to right: Suzette (Pullip Io) in the Santorini outfit, Ally in the Coney Island outfit, Nikki (Pullip Tomoe Mami) in Kiyomi's stock outfit, and Luna (Pullip Tokidoki Luna) in Ally's stock outfit.

All dressed up and nowhere to go!
Just some girls, having fun!
All dressed up and nowhere to go!
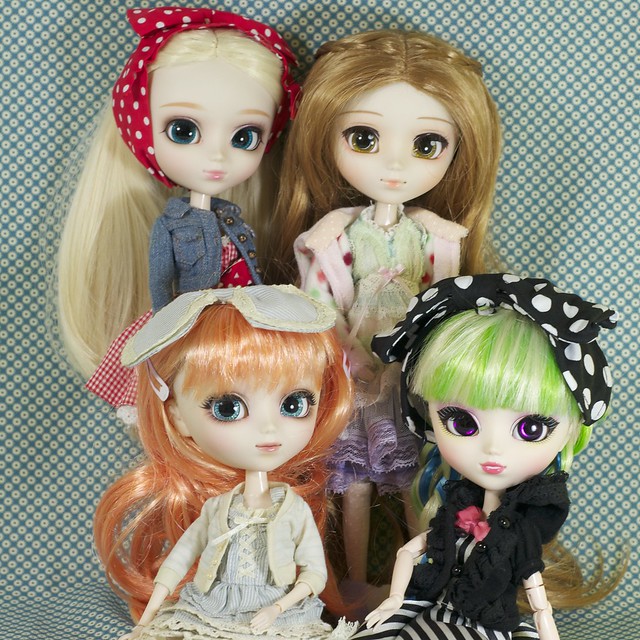
Picture perfect
It's hard to get 4 dolls all looking into the camera at the same time, but I think I came close for this one.  Suzette is looking a little off, probably because she kept falling backwards.  

Saturday, January 18, 2014

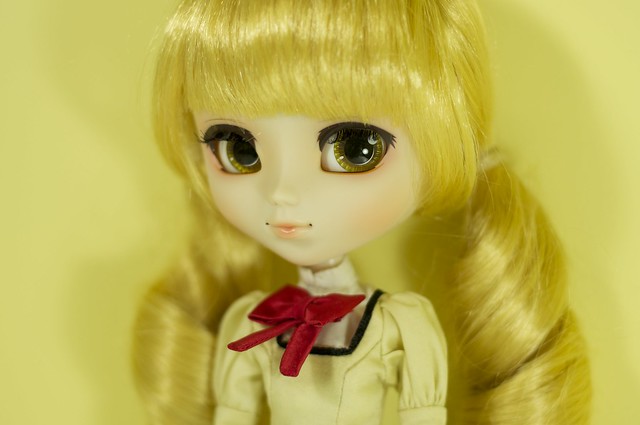
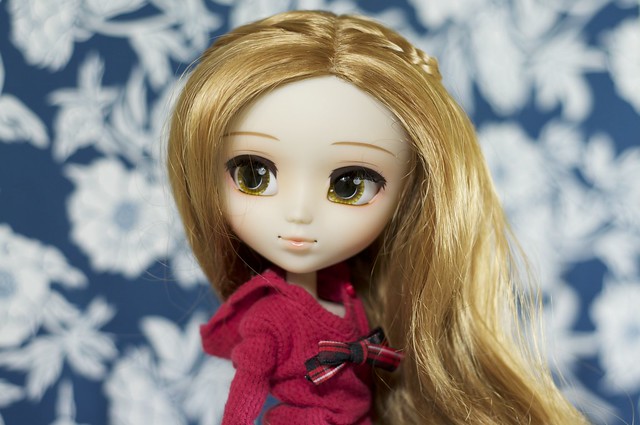
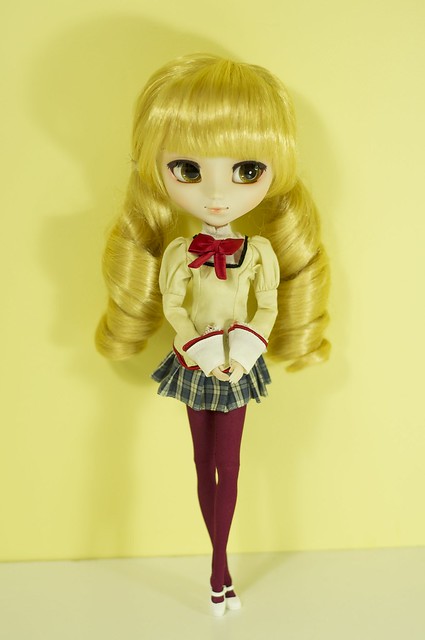
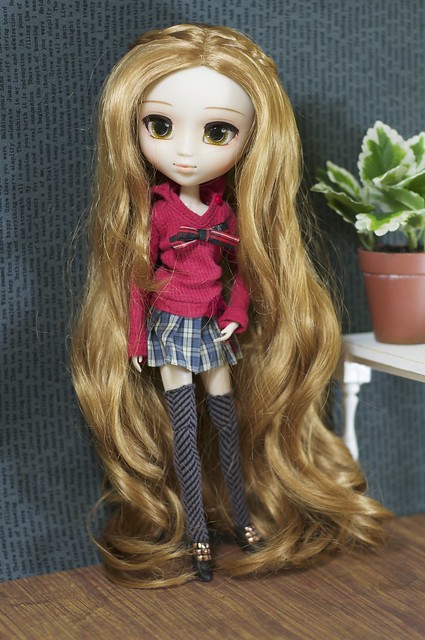
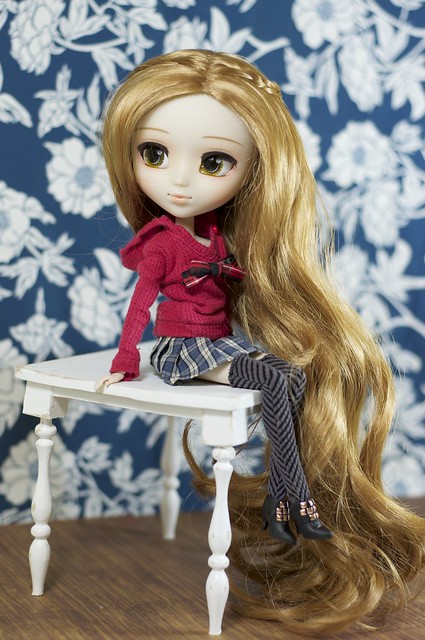
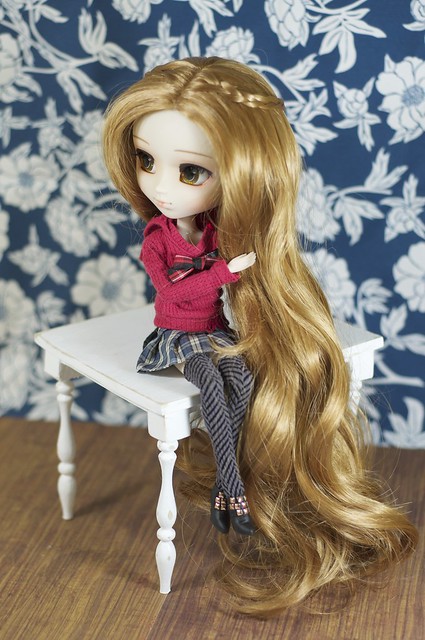
Nikki (Pullip Tomoe Mami) re-wigged

I just wasn't feeling the love for poor Nikki, so I decided to rewig her and see if that made a difference.  What do you think?

Nikki in School outfit
Before
Nikki's new wig
After

Nikki in School outfit
Nikki's stock wig was plenty long...
Rapunzel?  Is that you?
... but her new wig is insanely long!
When I first bought this wig I assumed I'd trim it down, but I actually love how long it is.

Nikki's new wig
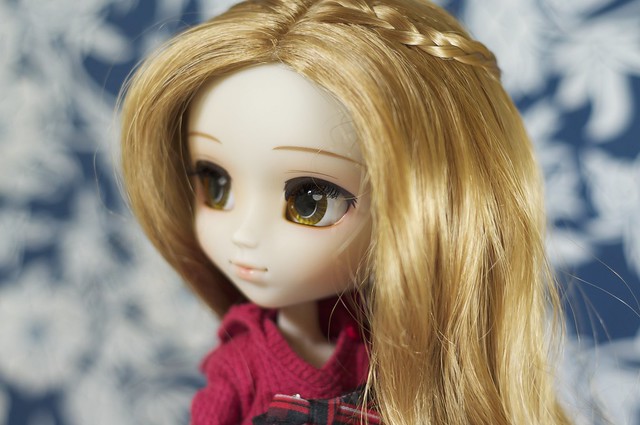
I love how the golden tones in the wig bring out her golden eyes
Nikki's new wig
so pretty!
Nikki's new wig
the wig comes with 2 braids that meet in the back
Nikki's new wig
I think Nikki likes the new look
Nikki's New Wig
Nikki can't wait for the others to see her makeover!
Nikki's new wig
Hanging out with her puppy
Nikki's new wig

Friday, December 27, 2013

Pullip Luna goes under the knife!

I've had my 27 cm small bust soft body Obitsu since soon after I received Suzette (Pullip Io, my first Pullip), but I am just now getting around to putting it on one of my dolls.  It wasn't my intention to have my first modification be with my very favourite doll, but I really wanted to apply Luna's tattoos, so she ended up being my Guinea pig.
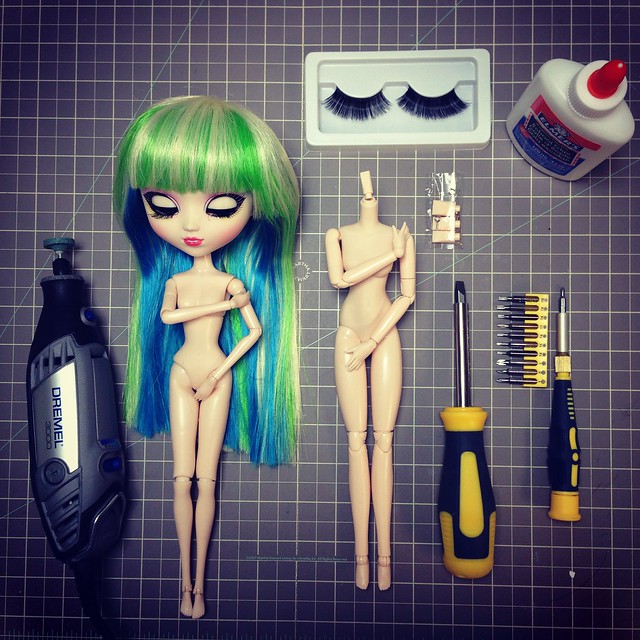

IMG_0197

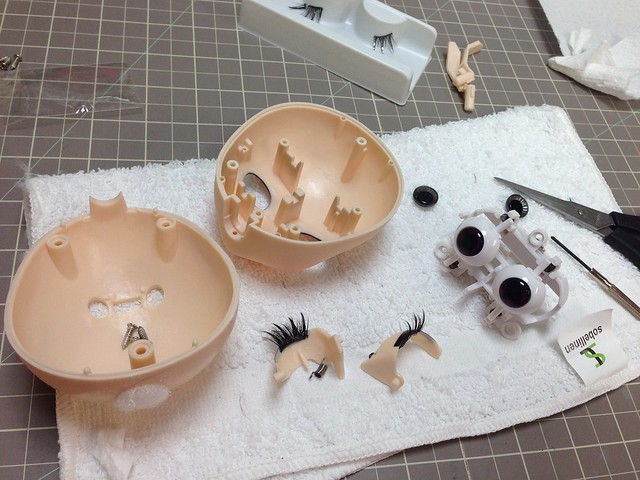
I gathered up my supplies: My new Dremel tool for grinding down the neck peg of the Obitsu, Pullip Tokidoki Luna (under a general anesthetic), my 27 cm small bust soft body Obitsu (white), neck pegs (these are included with the body- I used the largest that came in the package), screw drivers (flat head and precision Philips), eye lashes (from Halloween), Elmers white glue (must be water soluble school-type glue so it does not melt the plastic).  Not pictured here (because I wasn't planning to change her eye chips): Cool Cat smooth eye chips in dark purple.
IMG_0200

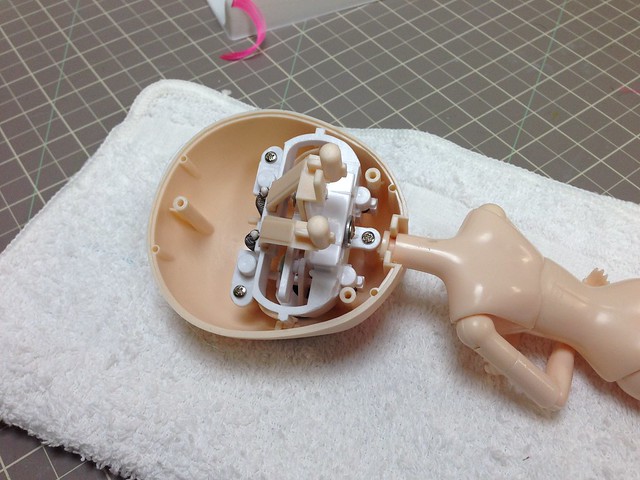
I began by removing Luna's head from her stock body, which required a trip across the street to borrow a neighbour's screwdriver, because my precision screwdriver was not narrow enough to reach into the deepest hole in the head.  Then I attached the largest neck peg to the Obitsu body and proceeded to grind down the peg to the size of the Pullip neck peg.  This did not take very long at all, despite the fact that I was using a fine grit grinder when I probably ought to have been using a medium grit (which did not come with my Dremel).

While I had her head open, I decided to apply extra lashes.  I did not use the ones pictured above but a more feathery set from Halloween.  This, which I thought would be the most straight-forward part of this modification, was actually the trickiest for me.  First, the eyelashes (made for humans) come with a very sticky adhesive that is on the wrong side of the lashes for doll application.  You have to adhere them under the lids, not over the lids.  So when you apply the lashes to the wet Elmer's glue, they stick to your hand, your tweezers, your table, the scissors... basically anything other than the wet Elmer's glue on the doll's eyelid.

In the midst of my eyelash problem I decided to try out new eye chips.  I do really like Luna's black eyes, but I had her open, and I had 5 new pairs of eye chips in my Christmas stocking, so I figured I'd try them out and could always go back to the black if I didn't like the purple.  The black eye chips popped out easily with a precision screwdriver, and I glued the new ones in place with more of the Elmer's glue.
IMG_0201

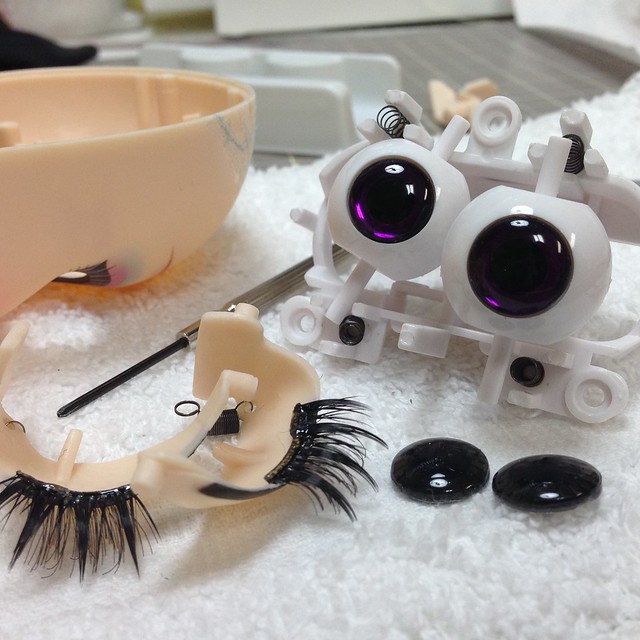
Then I had the brilliant (not!) idea to cover the sticky part of the eyelashes in Glossy Accents.  This part (with the Glossy Accents) in theory (but I will learn, not in practice) will not touch any part of the plastic on the doll, so it should be ok, even though I am not sure what Glossy Accents will do to plastic over time.  My idea was that the glossy accents would dry into a glossy rubbery substance that will not be sticky, and allow me to stick the lashes in the Elmer's glue without them sticking to my hands.  Well, that seemed like it would work, except that when I put the head back together, the line of Glossy accents was too thick and it basically squished against the eyeball (eek!  My brand new eye chips!!) creating a sticky mess all over the eyeball, the lid, and the lashes.
IMG_0202
What not to do: Covering the sticky side of the eyelashes in Glossy Accents

It took me over 30 minutes to clean up all traces of Glossy Accents and eyelash adhesive from the eyeballs and eyelids.  But those pesky little lashes were still sticky on the wrong side!  So I decided I could cut tiny strips of black tissue paper and stick the strips along the edge where the eyelash adhesive was.  Although this strip of paper should not be seen from outside the doll, I wanted it to match the eyelashes just in case I was messy and a bit of it showed.  It turns out, this idea did the trick and I was finally able to close up the doll.  Phew!


DSC_4301
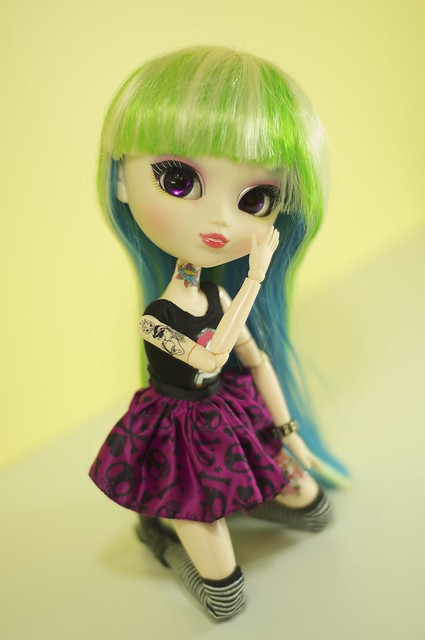
Here she is showing off her new pose-ability and shiny eye chips!


DSC_4251
Before
DSC_4349
After
DSC_4249
Before
DSC_4359
After