 |
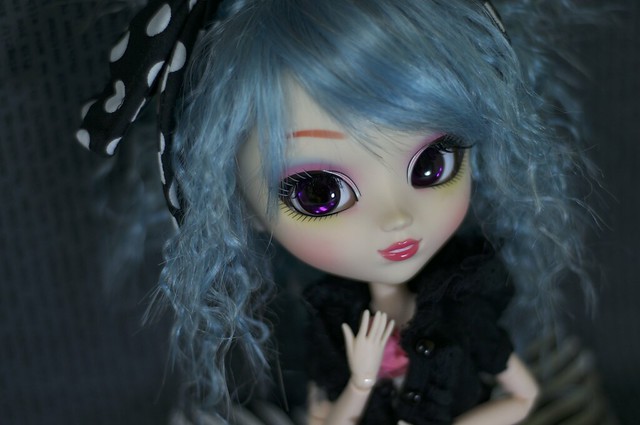
| Luna in 2014 |
I had a character in mind for Luna- a free-spirited, fun-loving, distractible, impulsive gal, who has moved around a lot and held a lot of different jobs. I wanted her to have a natural Bohemian style. I created a Pinterest board for her style, which you can check out here:
Follow Tracy's board Luna Style on Pinterest.
And this is what she looked like after her makeover:
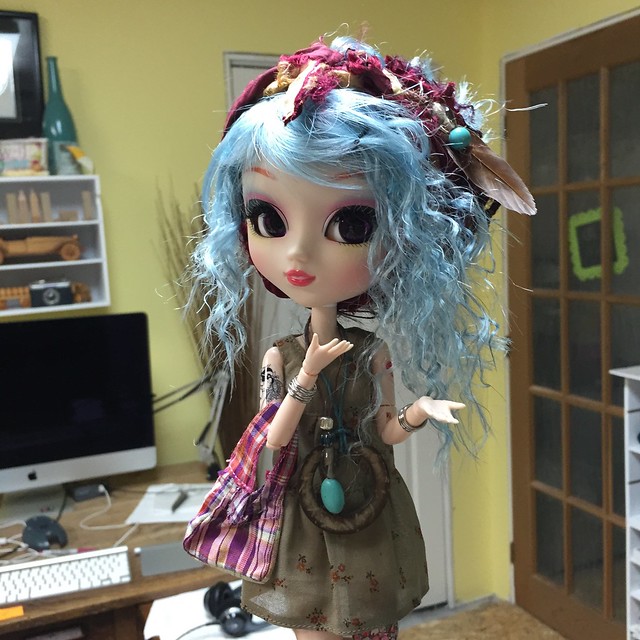 |
| Luna in May, 2015 |
Then I discovered Lilcurly and her YouTube videos which explain how she styled each of her Pullips. Coincidentally, I also noticed she had a thread over at Dollchemy which detailed her process for re-styling one of her dolls. She and her beautiful dolls totally inspired me to get back into styling my characters! Instead of creating a moodpboard like she did, I just created Pinterest boards for each of my dolls that will appear in The Secrets of Woodside. Once I had my boards all set up, I realized that I could switch Luna and Suzette's characters fairly easily, leaving the character I loved with the Bohemian style I loved.
This is how Suzette (Pullip Io) looked before I restyled her and changed her character:
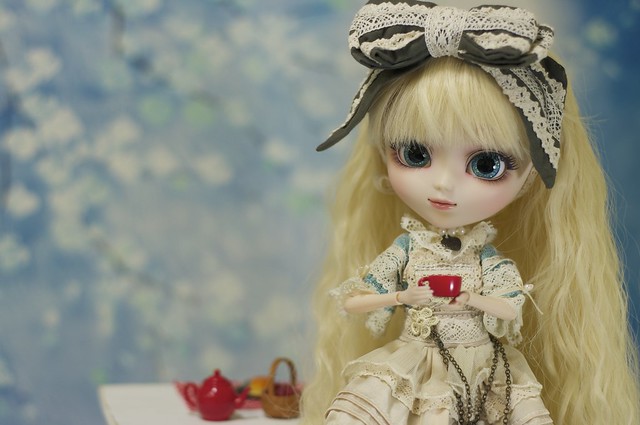 |
| Suzette was dressed as Romantic Alice up until now |
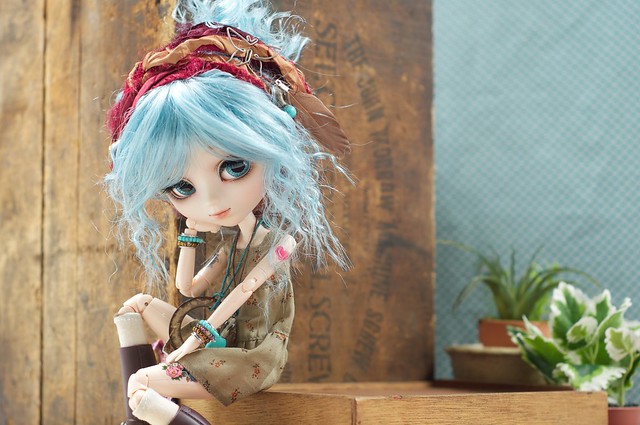 |
| Wowsers! What a difference! |
 |
| see the Pin |
I had a hard time getting her to lean forward enough for her elbow to rest on her knee (notice the floating elbow in the photo above!), so I played around with a few different options, including cropping:
and having my daughter press on the back of her shoulder, then cropping out the human hand to the right:
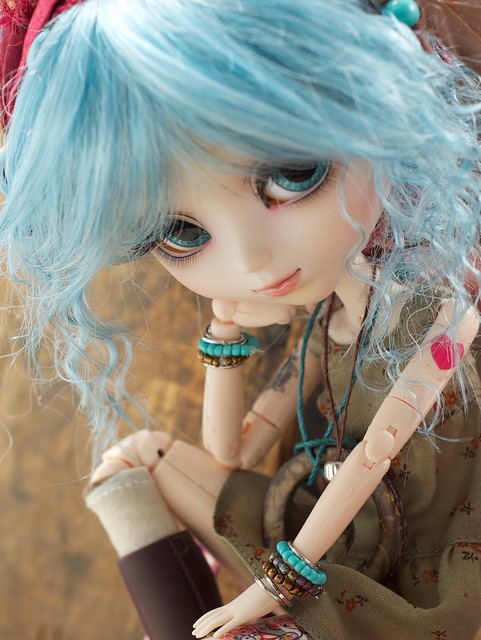 |
| If you know what to look for, you can see Liv's hand through Luna's hair to the right |
My husband gave me the idea that I could have used fishing cord to tie her elbow to her thigh, but I had already packed everything up by that point. I do keep fishing cord in my doll photography bag for that very sort of application, so I had a face-palm moment... but I do really like how these photos came out regardless of the floating elbow.
My second pose was inspired by this Pin:
 |
| see the Pin |
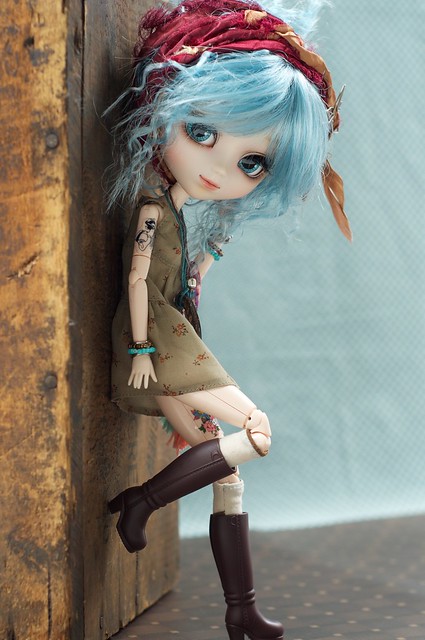 |
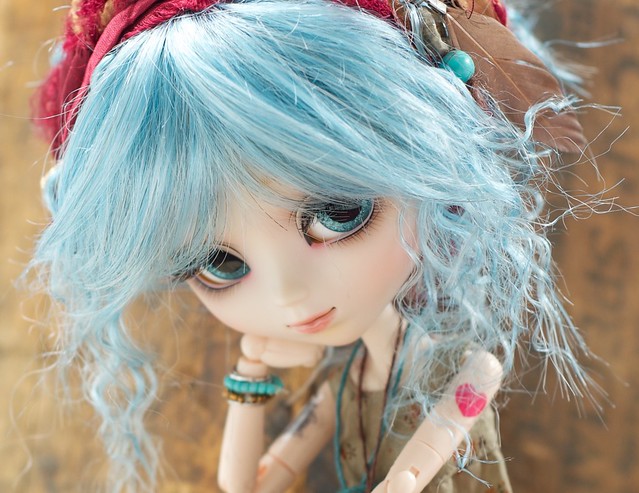
| Suzette's new look! |
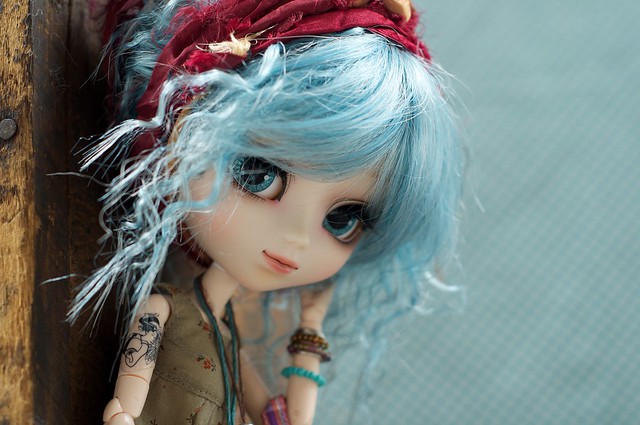 |
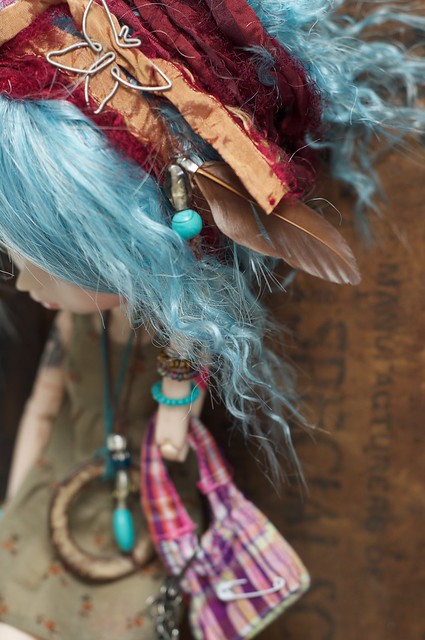 |
| I made her updo using sari ribbon, string, beads, a feather earring, and a paperclip |
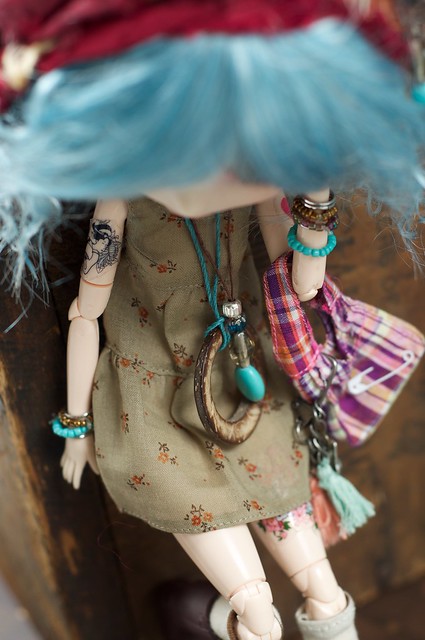 |
| I made her jewelry using broken jewelry of my own and more scrapbooking supplies |
My usual doll photography area in my craft room (shown in previous blog entries, if you're interested, try searching or clicking the "Doll Photography" label on the side bar) was blocked off, so I set this up in my husband's photo studio. I used 2 kids chairs to drape my fabric backdrops behind my props. The Freudian slippers are not required, lol, but I have to lay right down on the floor to get shots in this space, so I take off my footwear so they don't get wrecked by the concrete floor!
Below is a video showing my new Suzette and taking about my styling process for her.


I'm recently new to Pullips and am always amazed at the gorgeous custom work people do with their lovely dolls. I haven't got around to doing anything yet but maybe one day.
ReplyDeleteI really love what you did with her. She turned out wonderfully and I can definitely see that Bohemian spirit in her new look. I also enjoyed seeing the behind the scenes shot. I love seeing how people do their photos.
Thank you so much for your comment. I mostly do the basic customizations like changing wigs, eye chips, and bodies (I'm not so great at face-ups) but once you start doing these things, it opens up a whole new world within the hobby. Once you start modifying your dolls, you'll probably catch the bug too! Thanks for stopping by my blog!
Delete